Top Lighting Tips for Shooting in Los Angeles
Filming in Los Angeles can be challenging, particularly when it comes to lighting.
Lighting a video shoot can be a tricky proposition anyhow, especially for a “non-pro.” The camera has a different perception of light than the naked eye, and it takes practice to learn how to use that.
Lighting can be far more nuanced than you may realize, and it takes practice and a good eye to understand how to work with that. Some people avoid shooting on location because of the volatility of the lighting, but with the fantastic locations offered in a city like Los Angeles, the results are often worth it.
Why film in Los Angeles?
Los Angles is the entertainment capital, no doubt. But you don’t need to have Hollywood aspirations to appreciate the wildly diverse and vibrant filming destination that is Los Angeles.
They are the home of many wildly iconic locations, a limitless pool of talent, and filming infrastructure.
With 315 days of sunshine annually, sites that populate the 840 miles of coastline, vast deserts, sand dunes, urban spots, and various cultural centers, why would a filmmaker go elsewhere? Los Angeles is sure to provide precisely what you need to create your video production masterpiece.
Video lighting tips and tricks- the basics
- Shoot Preparation
Shoot preparation is everything. Always scout your location in advance at the same time you will be shooting. Natural light will cast shadows and can change in an instant with the weather. If the sun slips behind a cloud, everything changes, and keeping consistency from shot to shot is a challenge.
- Lighting equipment
Lighting equipment plays a vital role in controlling the lighting in a shoot. Options for lighting setups range from fundamental (and inexpensive) clamp lights. These lights do not allow for dimming, which means the lighting can be too stark. Diffusion will help spread the light and creating a softer effect.
A middle range lighting setup will put you back up to $500 but will give you what you need for diffusion, quick set up, and pretty good control of the lighting.
If you’re in it for the long-haul, the better lighting setups will have features like full range dimmers, wireless, more robust output, and high diffusion. Think carefully about your specific requirements as you may be able to get by without this expense.
- Using a 3-point lighting setup.
A 3-point setup is very common and uses a key light: your primary light source, a fill light to eliminate shadows, and a backlight to create depth. This is an efficient set up for YouTube videos, promo videos, and other situations.
- Beware the glare!
If your subject is wearing glasses, you’ll need to adjust for this to avoid glare by raising the lights higher, or moving the key and fill flights out farther from the subject. Use flags and reflectors when filming outdoors. They will help you balance the lighting on your actors and even out glare.


Tips for shooting video outside with natural light
The fascinating range of locations in Los Angeles is reason enough to jump outside the comfort zone of a controlled indoor shooting environment and hit the hills, streets, or whatever best tells your story. Try our top tips for working with and controlling lighting on your outside shoot.
- Timing is critical. Everything can change in a blink, so plan accordingly.
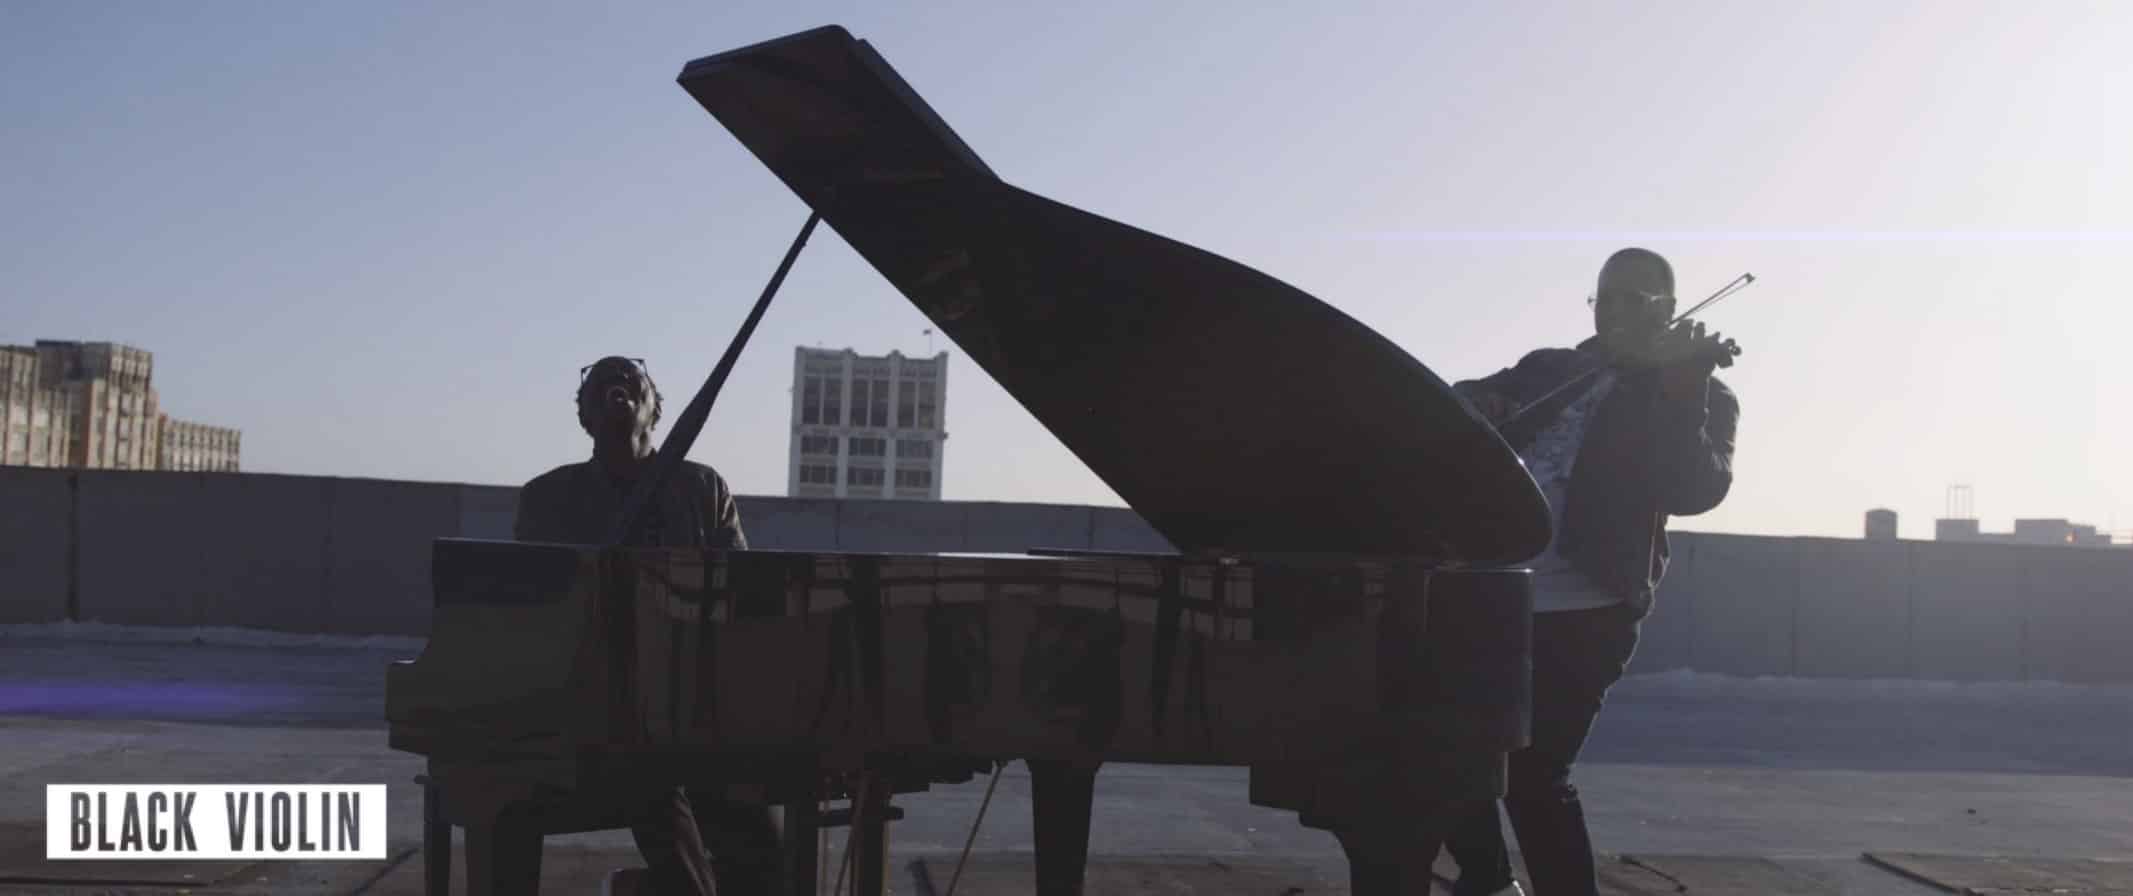
- Shoot before the sun gets too high. Preferred times are just after sunrise or directly before sunset. Just after sunrise or sunset is called the Blue Hour when the sky is still colorful, but the sun is not a problem. The “magic hour” is the hour leading up to sunset or just after sunrise and will provide flattering sunlight since the sun will be low on the horizon.
When the sun is too high, lighting can cast shadows on your subject. Blue hour leaves enough light to give a definition, but car lights and house lights are still visible and create the feel of nighttime. Magic hour provides a beautiful, soft natural light.
- Keep an eye out for potential strange shadow patterns like huge trees or buildings.
- Cloudy days are great for shooting.
- Be sure to choose the best lenses for the job. Daytime shoots call for low contrast and wide shots. Nightime shots do better with fast lenses, preferably one wide-angle. Take advantage of focal length and depth by using wide-angle lenses to establish the shot and create a sense of space.
- Use the sun as blacklight. Keep it behind your actors, so their faces aren’t covered with harsh sunlight on them, creating shadows. And you don’t want them to squint!
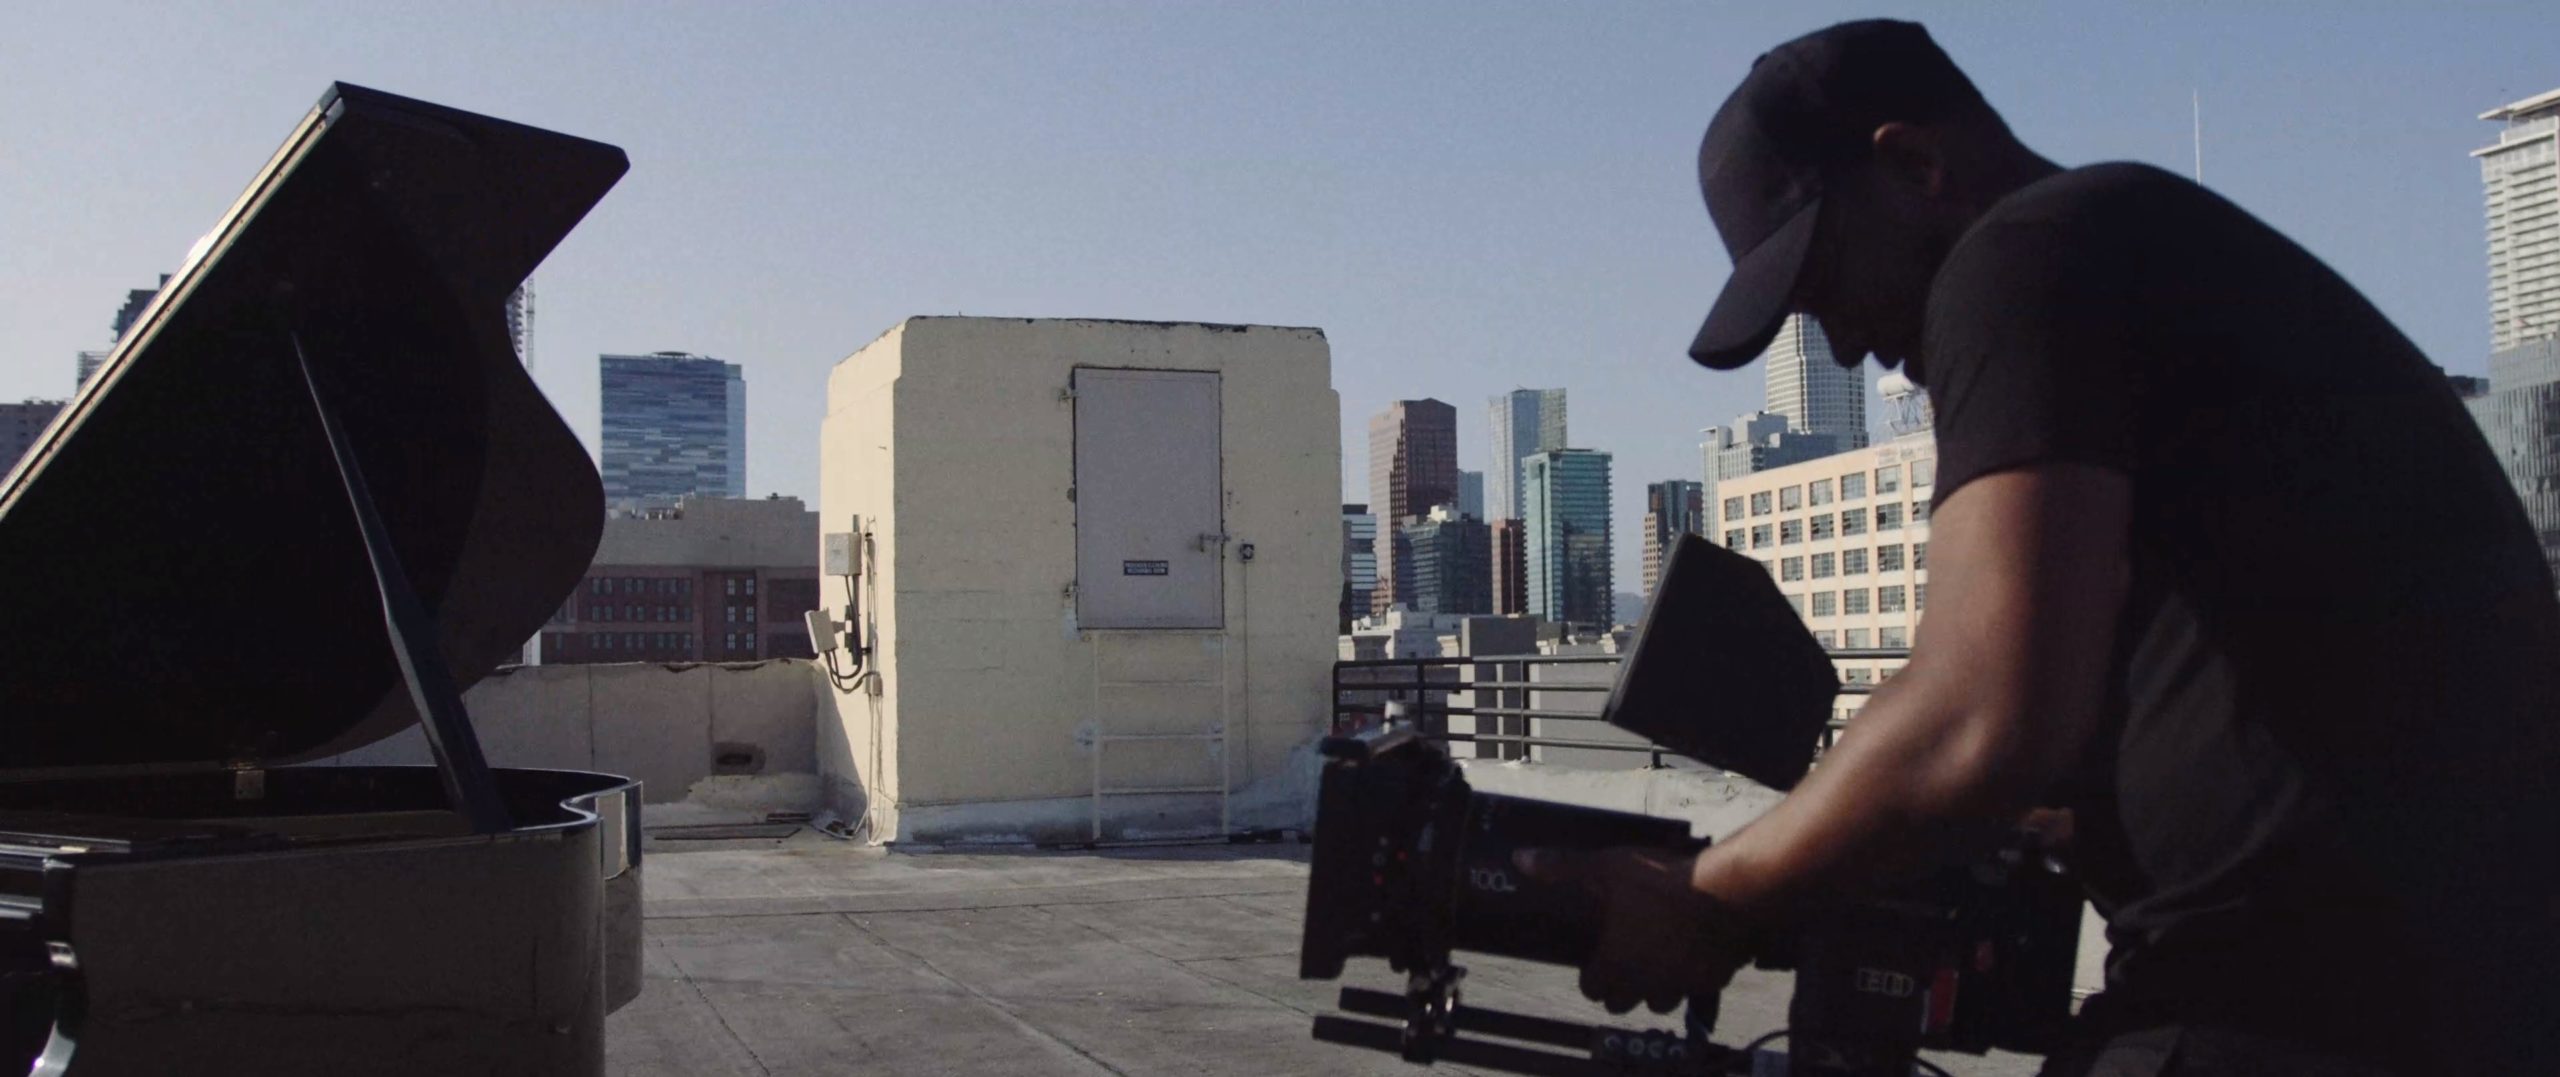
- Choose your location carefully! Be sure you know how the light hits at every hour of your shoot. Watch for shadows from buildings or trees, and know sunset and sunrise times.
Tips for location scouting
- It’s easy to become enamored with an iconic location, or breathtaking vista. Los Angeles offers everything you can dream from rambling warehouses to luxurious mansions, incredible natural vistas, or the inner city’s underbelly. Before settling on a location, be sure you understand your script and purpose for your video production, so you pick a site that best frames your story and does not detract from it.
- Pay attention to where the sun is. Is it full sun, partial sun or shade? You may get the best results on an overcast day or in full shade.
- Don’t ignore audio. Will there be noise from traffic, crashing waves, or other entertainment or activity? Listen through your camera’s microphone on headphones to get the best read on the noise level.
- Invest in neutral l density filters for your lenses to better manage the day’s brightness and changing conditions. You don’t want the sun to overpower your shot, and a neutral filter, speed, and F/stop adjustments can help you get to the right levels.
- Consider the elements – your camera lens can easily smear from the salt air, or moisture from a nearby waterfall. Cold temperatures can drain your battery (and freeze out your talent) while extreme heat can overheat your equipment.
- Remember, you may not have power. Bring your extra battery packs. And consider how you’ll power your lighting and chargers.
- Make sure the location has enough room for your equipment, crew, and talent. And remember to cover getting permission! You will likely need a permit in Los Angeles or any place where you impede traffic. Is it private property? Be sure to get proper permitting and permission in writing.
Learn more about the best locations in Los Angeles to film, check out “Best Locations to Shoot in Los Angeles “.
Ramp up the quality of your video production (for amateurs!)
If you’re just getting started in videography, you may want to leave your promotional or brand video’s video production to the pros. Meanwhile, you can still be working on upping your video game. Here are a couple of pro tips just for You!
Assuming you know the basics of pulling together your equipment, planning your shoot, using proper lighting techniques, here are some tips to make your production look professional.
- Keep your shot clean by using a simple background. You want to eliminate any elements that take attention from your subject or make the shot look cluttered. Unless the cluttered background is part of your story, try to avoid it.
- Good composition is the mark of a pro! Aim and shoot won’t cut it. Work on your framing and composition. Change out the camera’s framing to make the scene more appealing. A well known basic rule of composition is the Rule of Thirds. Put our subject’s head slightly higher and off-center in the frame and allow space when facing sides.
- Consider camera placement. For a close-up, never put the camera close to the subject. Place it a few feet away and zoom with your lens.
- Don’t be lazy with autofocus. Use the exposure/focus lock on your smartphone or use manual focus and trust your own eyes to set the focus.
- Try out your cinematic techniques. Use a mix of camera movements to tell your story and maintain viewer interest. Don’t overdo it.
- Timing matters. Try to limit your shots to between 5 and 10 seconds to hold your viewer’s attention. Keep them steady at 10 seconds, without panning or zooming before then. This will help minimize shaky shots, and keep things simple post-production.
- Think like an editor when filming. Take extra shots to allow more choice later.
Los Angeles is home to many talented and creative full-service production companies. They will know the locations, the talent pool, and the local requirements for filming. Set up a discovery call with C&I today to discuss your project.