The importance of product photography
As consumers, we all fall victim to information overload daily. We all want info served up to us in the most straightforward and most easily digestible form. Enter the product image. Your product images give your viewer a look into your product’s quality and insights into your brand. In our online world, the product photography is everywhere. With Amazon, Shopify, and so many other online sources, we see it daily. The right product image that is well presented immediately creates your first impression and shapes whether the viewer stays with you or discounts your product and moves on.
A good product image carries a heavy load in the marketing funnel and can either engage and convert clients or take you out of consideration. They will nurture your customer and edge them along to the buy decision. Good photography can increase your conversion rate since they become a view of your product’s perceived quality and value. Your product images must be spot on for your brand and target market in quality, content, color theme, and tone.
What is product photography?
Most purchases come from an emotional response to how a product will make them feel.
A 2018 study reports that product images had the largest impact on digital purchases, with 83% of respondents saying product images and photos were “very” or “extremely “influential in their buy decision. Sounds like a good place to invest your marketing dollars, doesn’t it?
Product photography uses the best photographic and creative processes to evoke emotion and showcase your product online and in the print world. Product photography must speak directly to your target audience with relevance and quality. The images are one of the most essential elements in your branding and should present a consistent view of your products across your website, social media, and all other digital and print advertising.
What are the two main types of product photography?
Product only images
Product only images are a clear view of your product against a simple white background. They often feature the product from various angles to highlight the features and showcase the full use of the product in the best possible light. They are often photographed against a white background so you can show consistency across various views and other products. Many times, a product will require 10 or 12 images to represent your product adequately.
Lifestyle photos
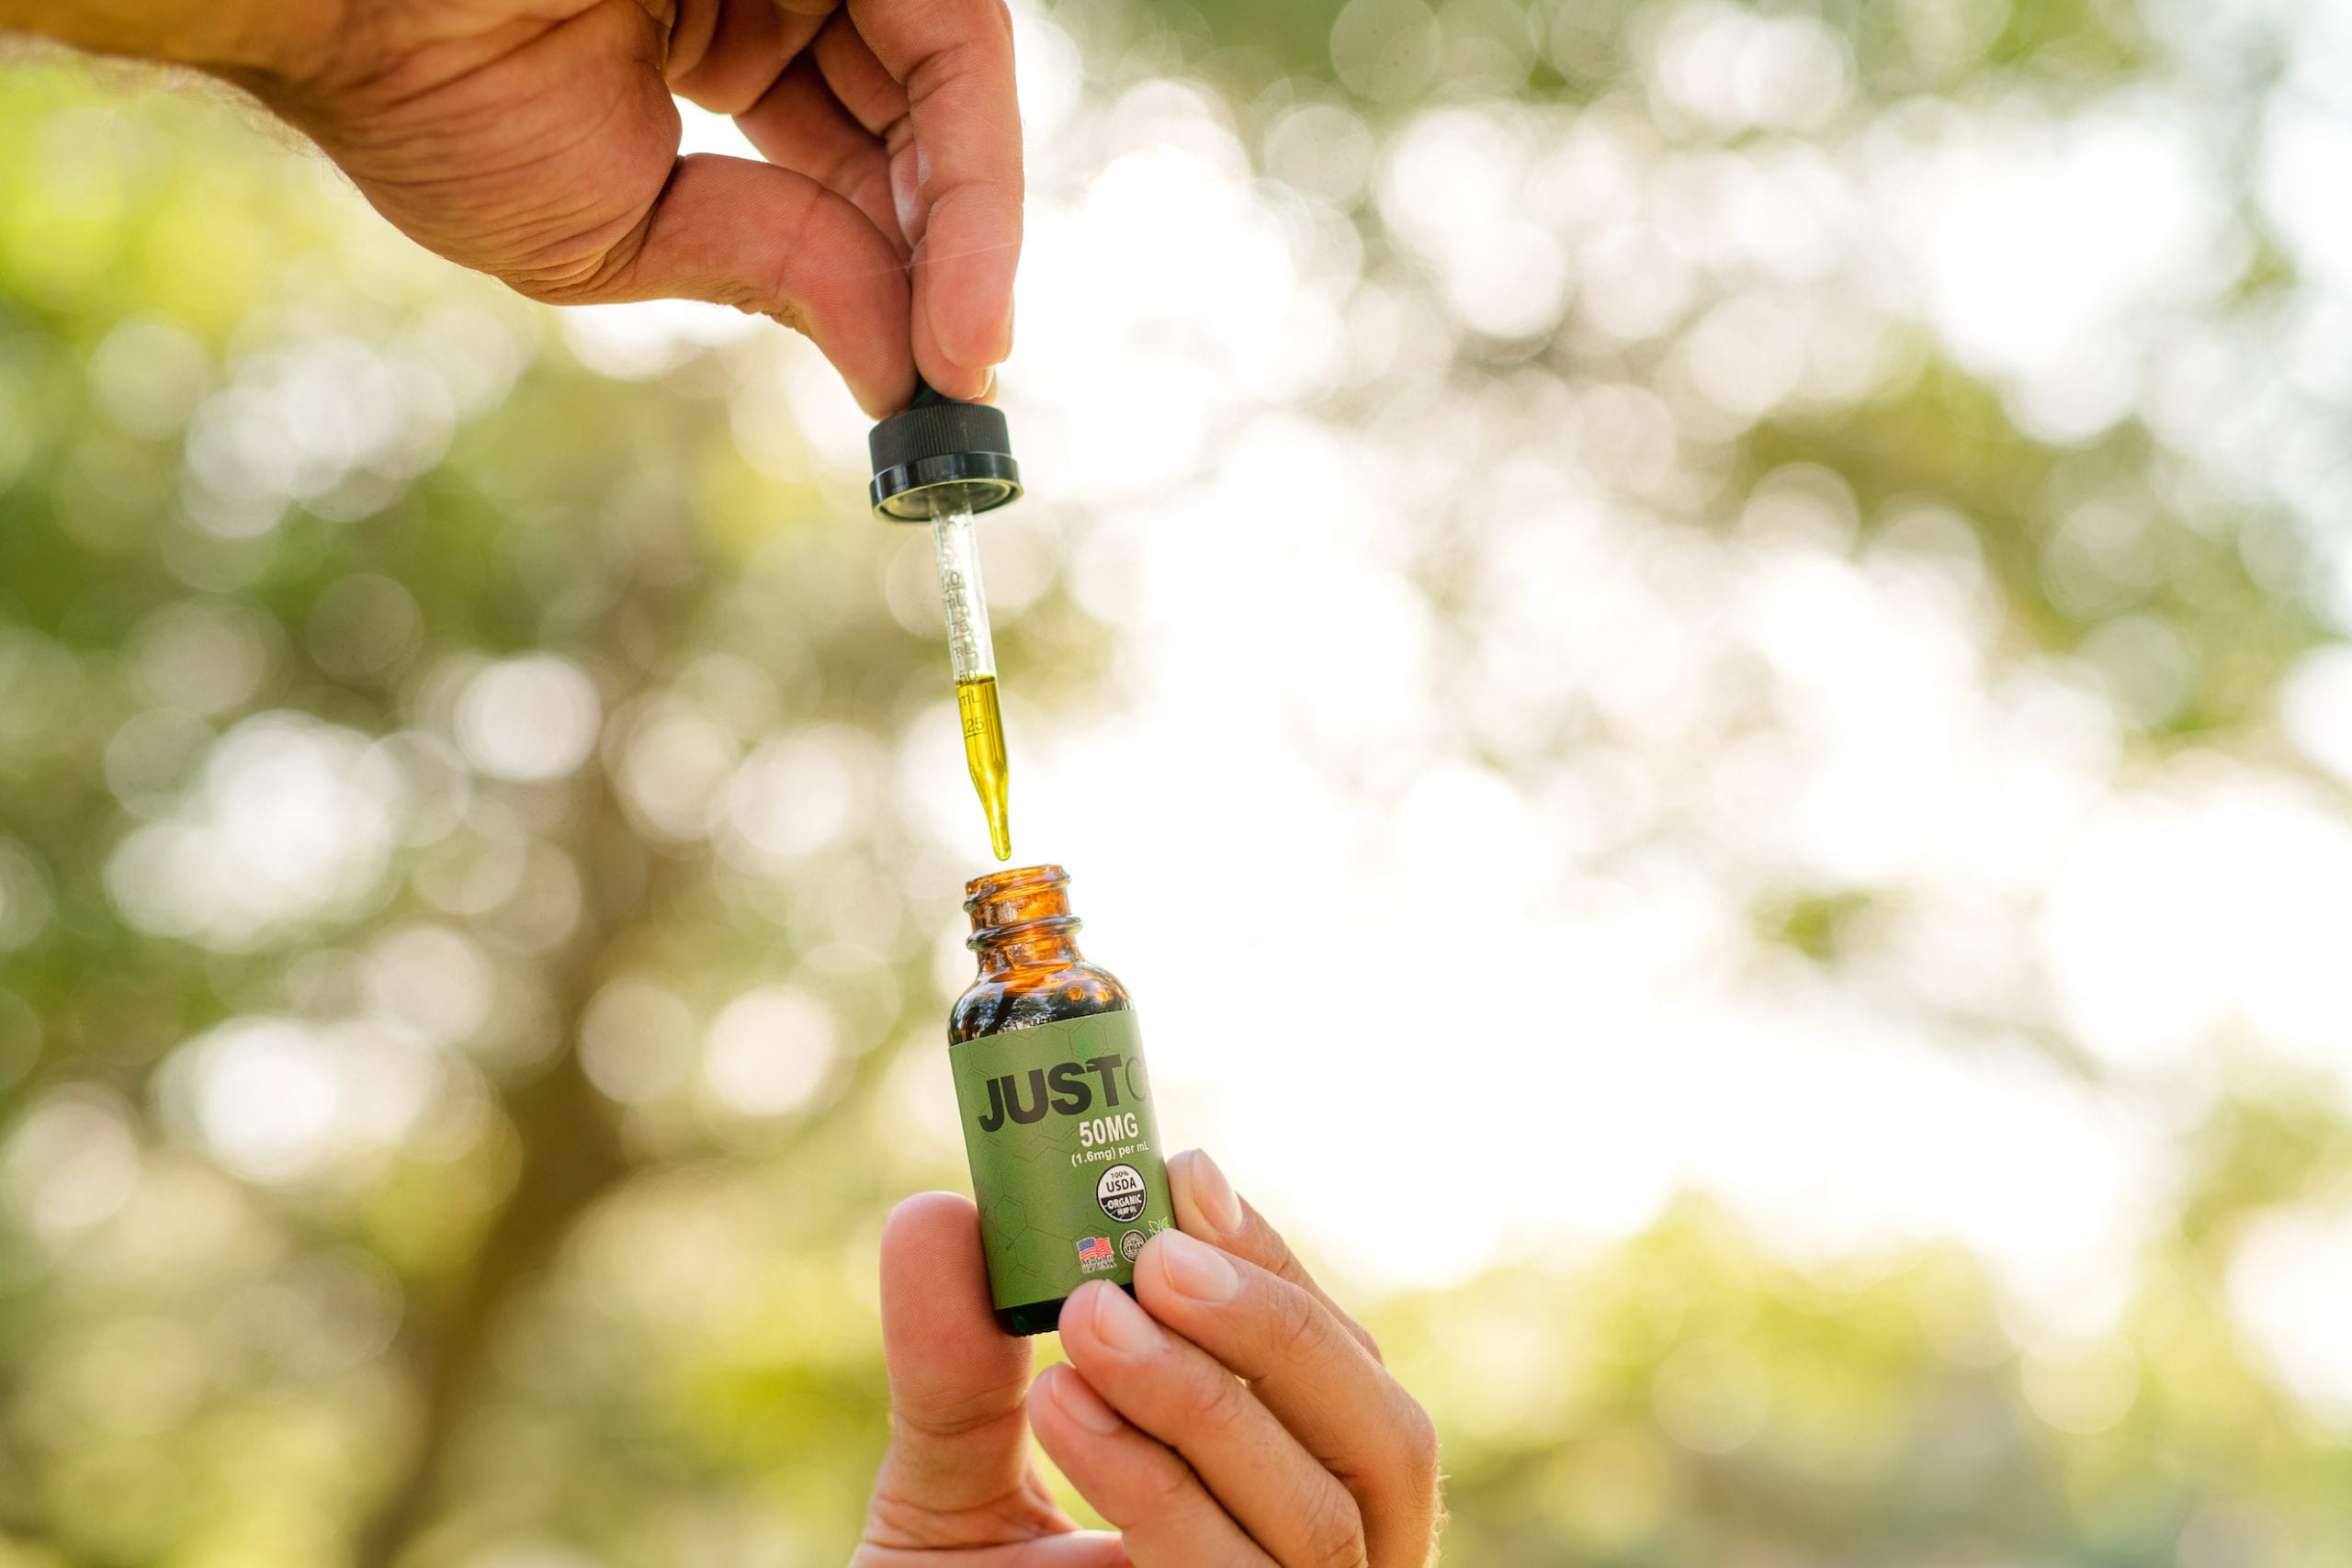
Lifestyle or in context photos show your product being used and bring your products and brand to life. These shots are often used to tell more of a story and work well in social media, blog posts, or other digital marketing channels. They can let the viewer identify with the people or places and activity in your shots. This is the beginning of creating an emotional connection.
Specialty Shots
There are several shots in addition to the main product and lifestyle shots that may be useful in showcasing your product.
- Scale shots – These shots help your user get an idea of the size of the product.
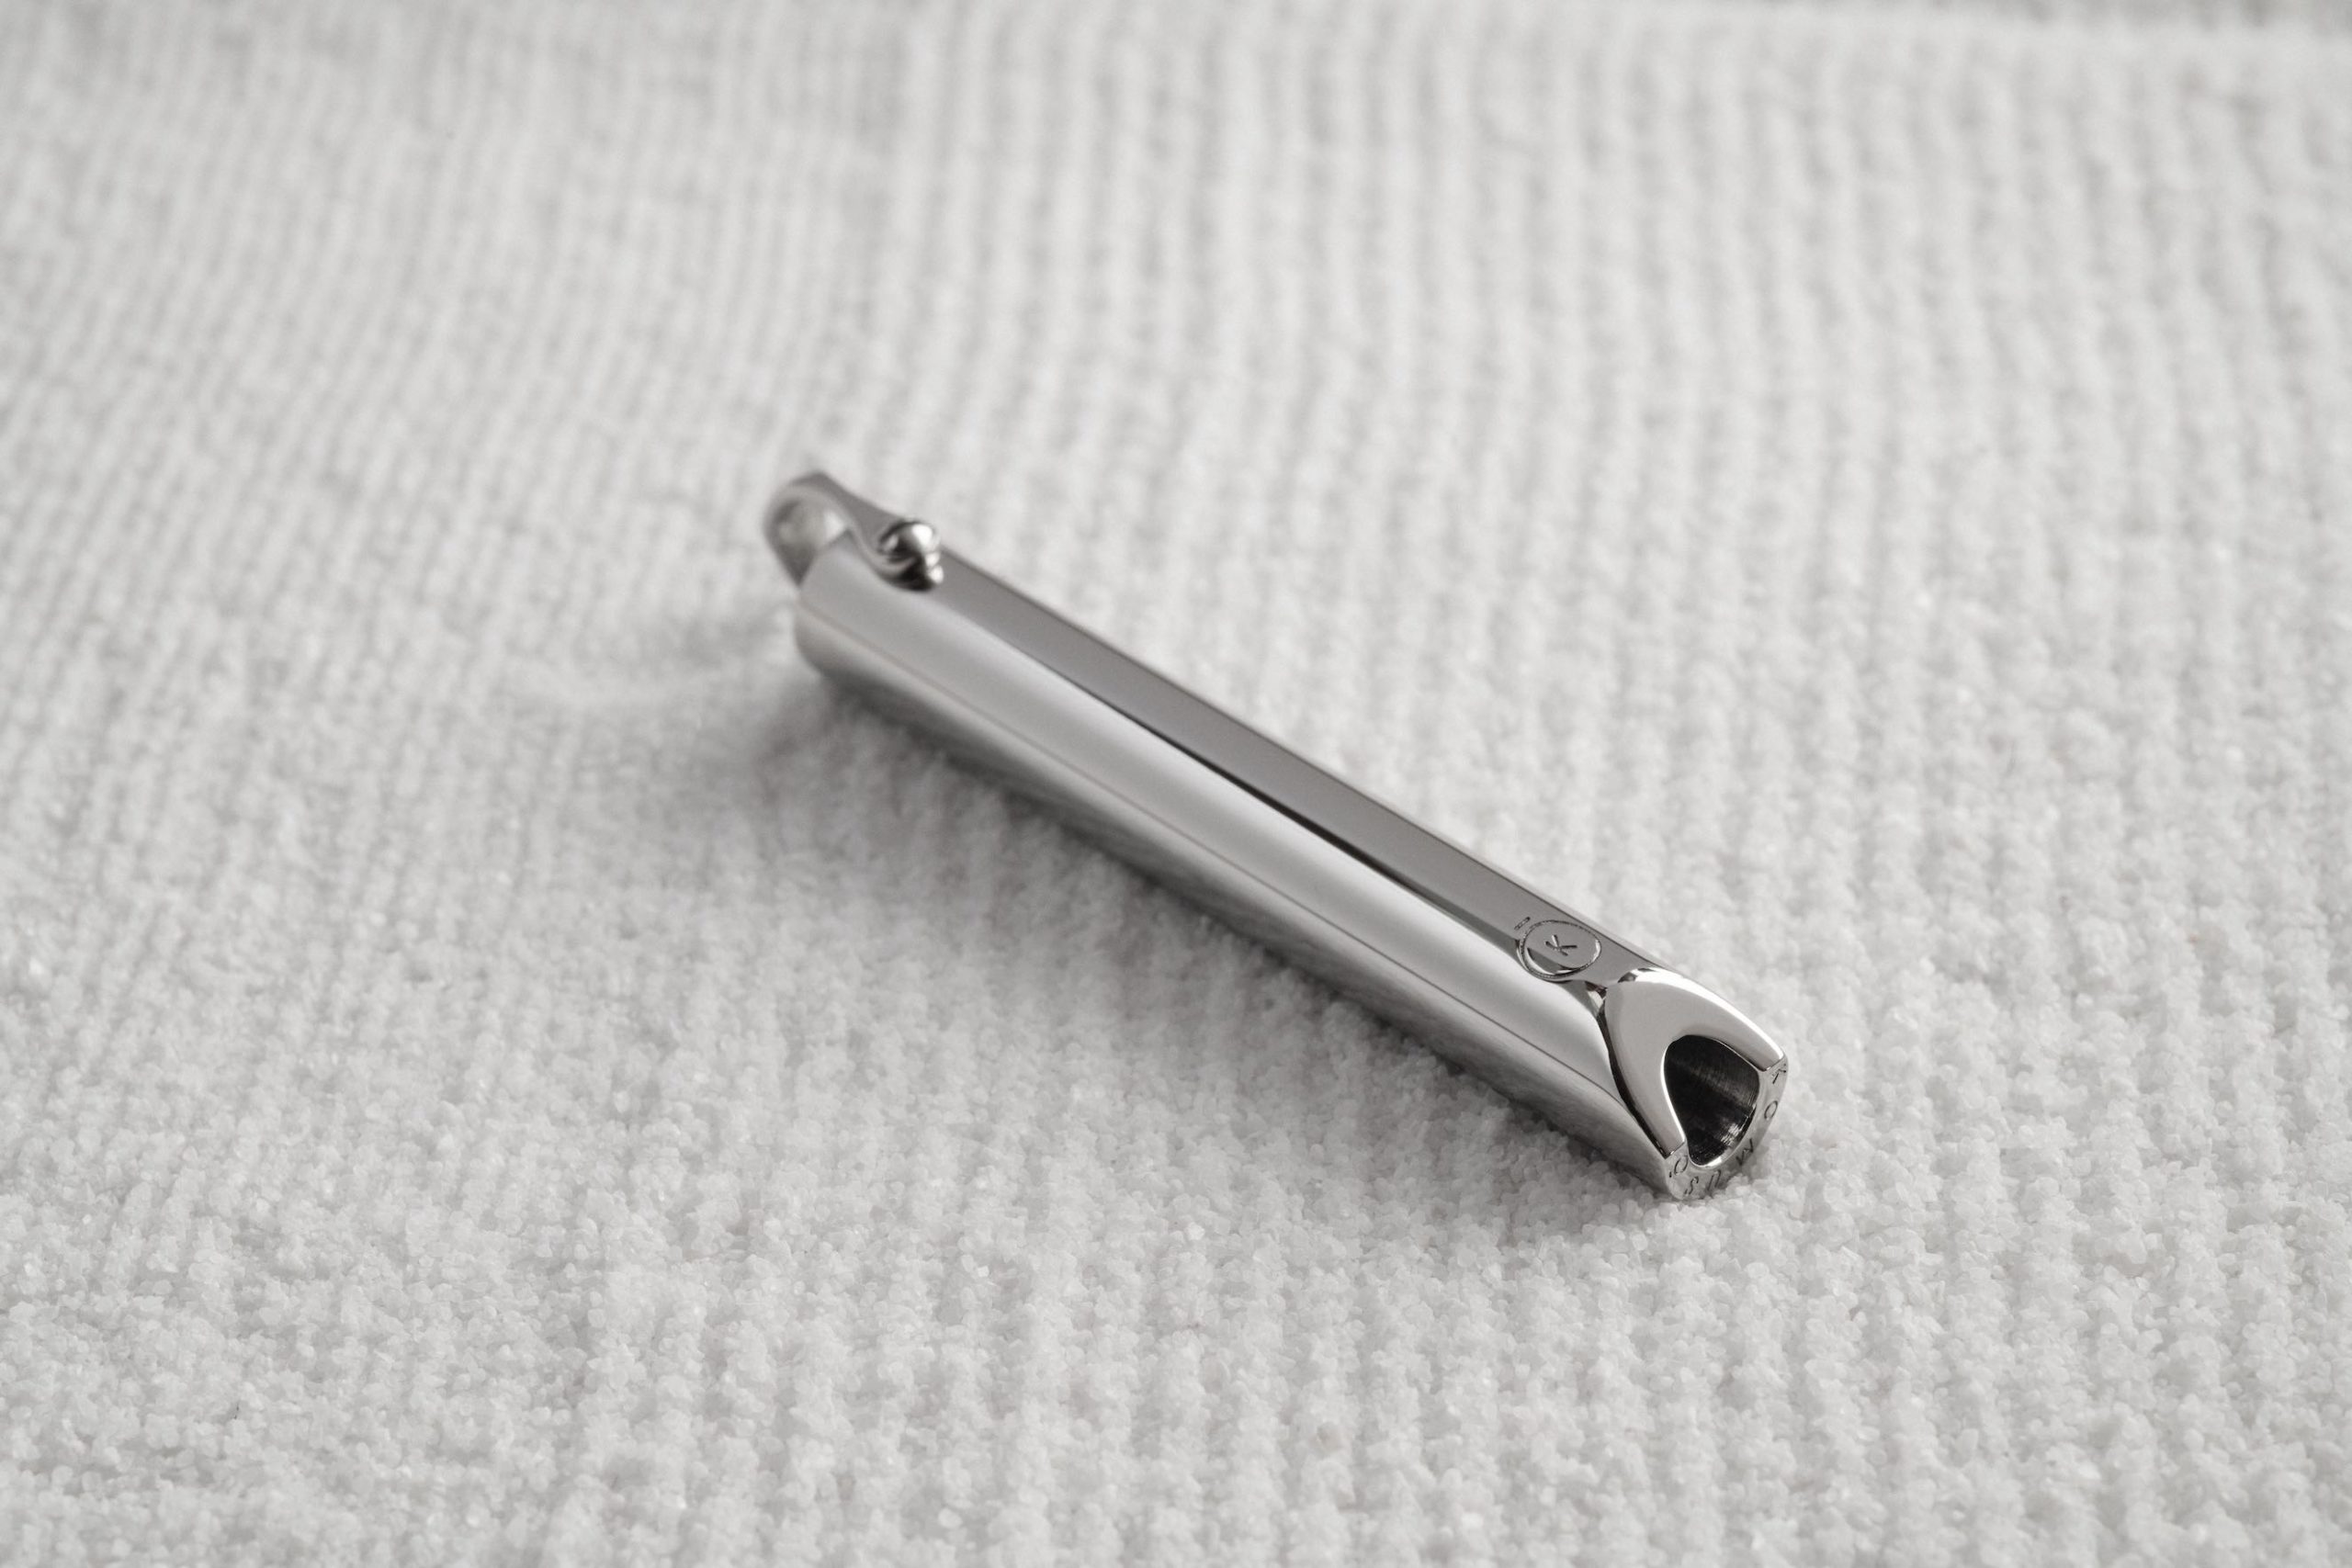
- Detailed shots – These are close up views that will highlight specific features of the product
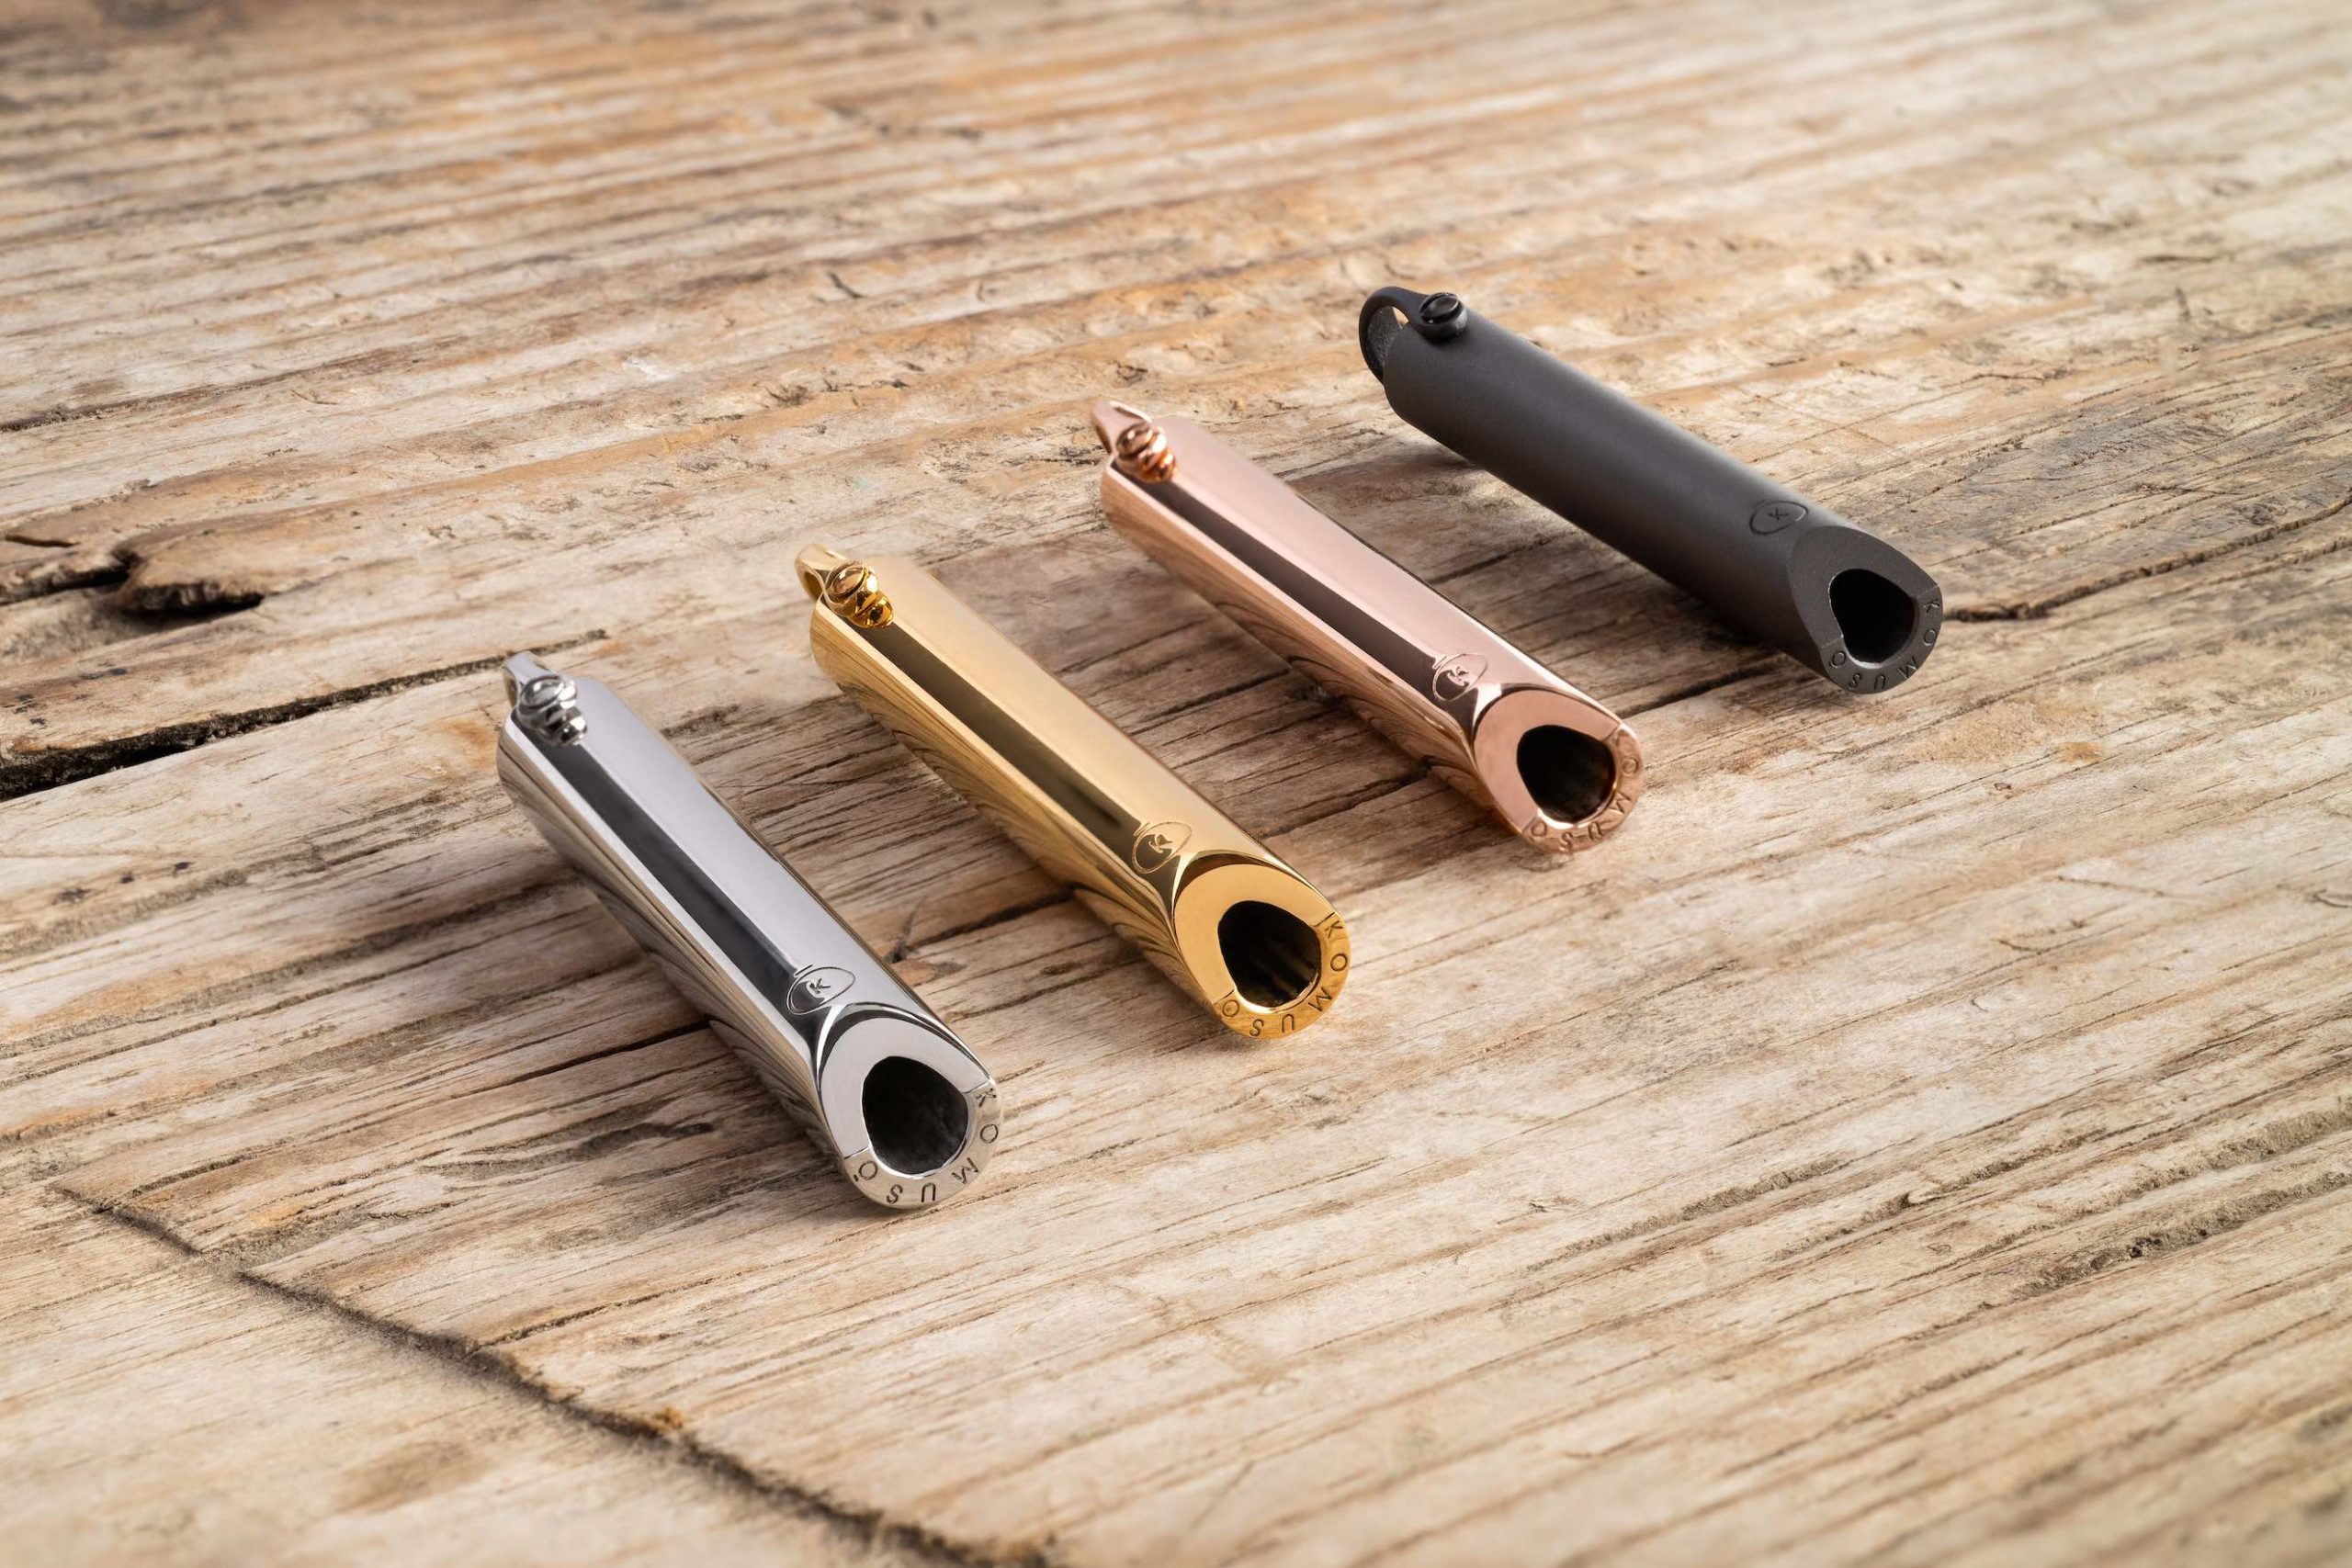
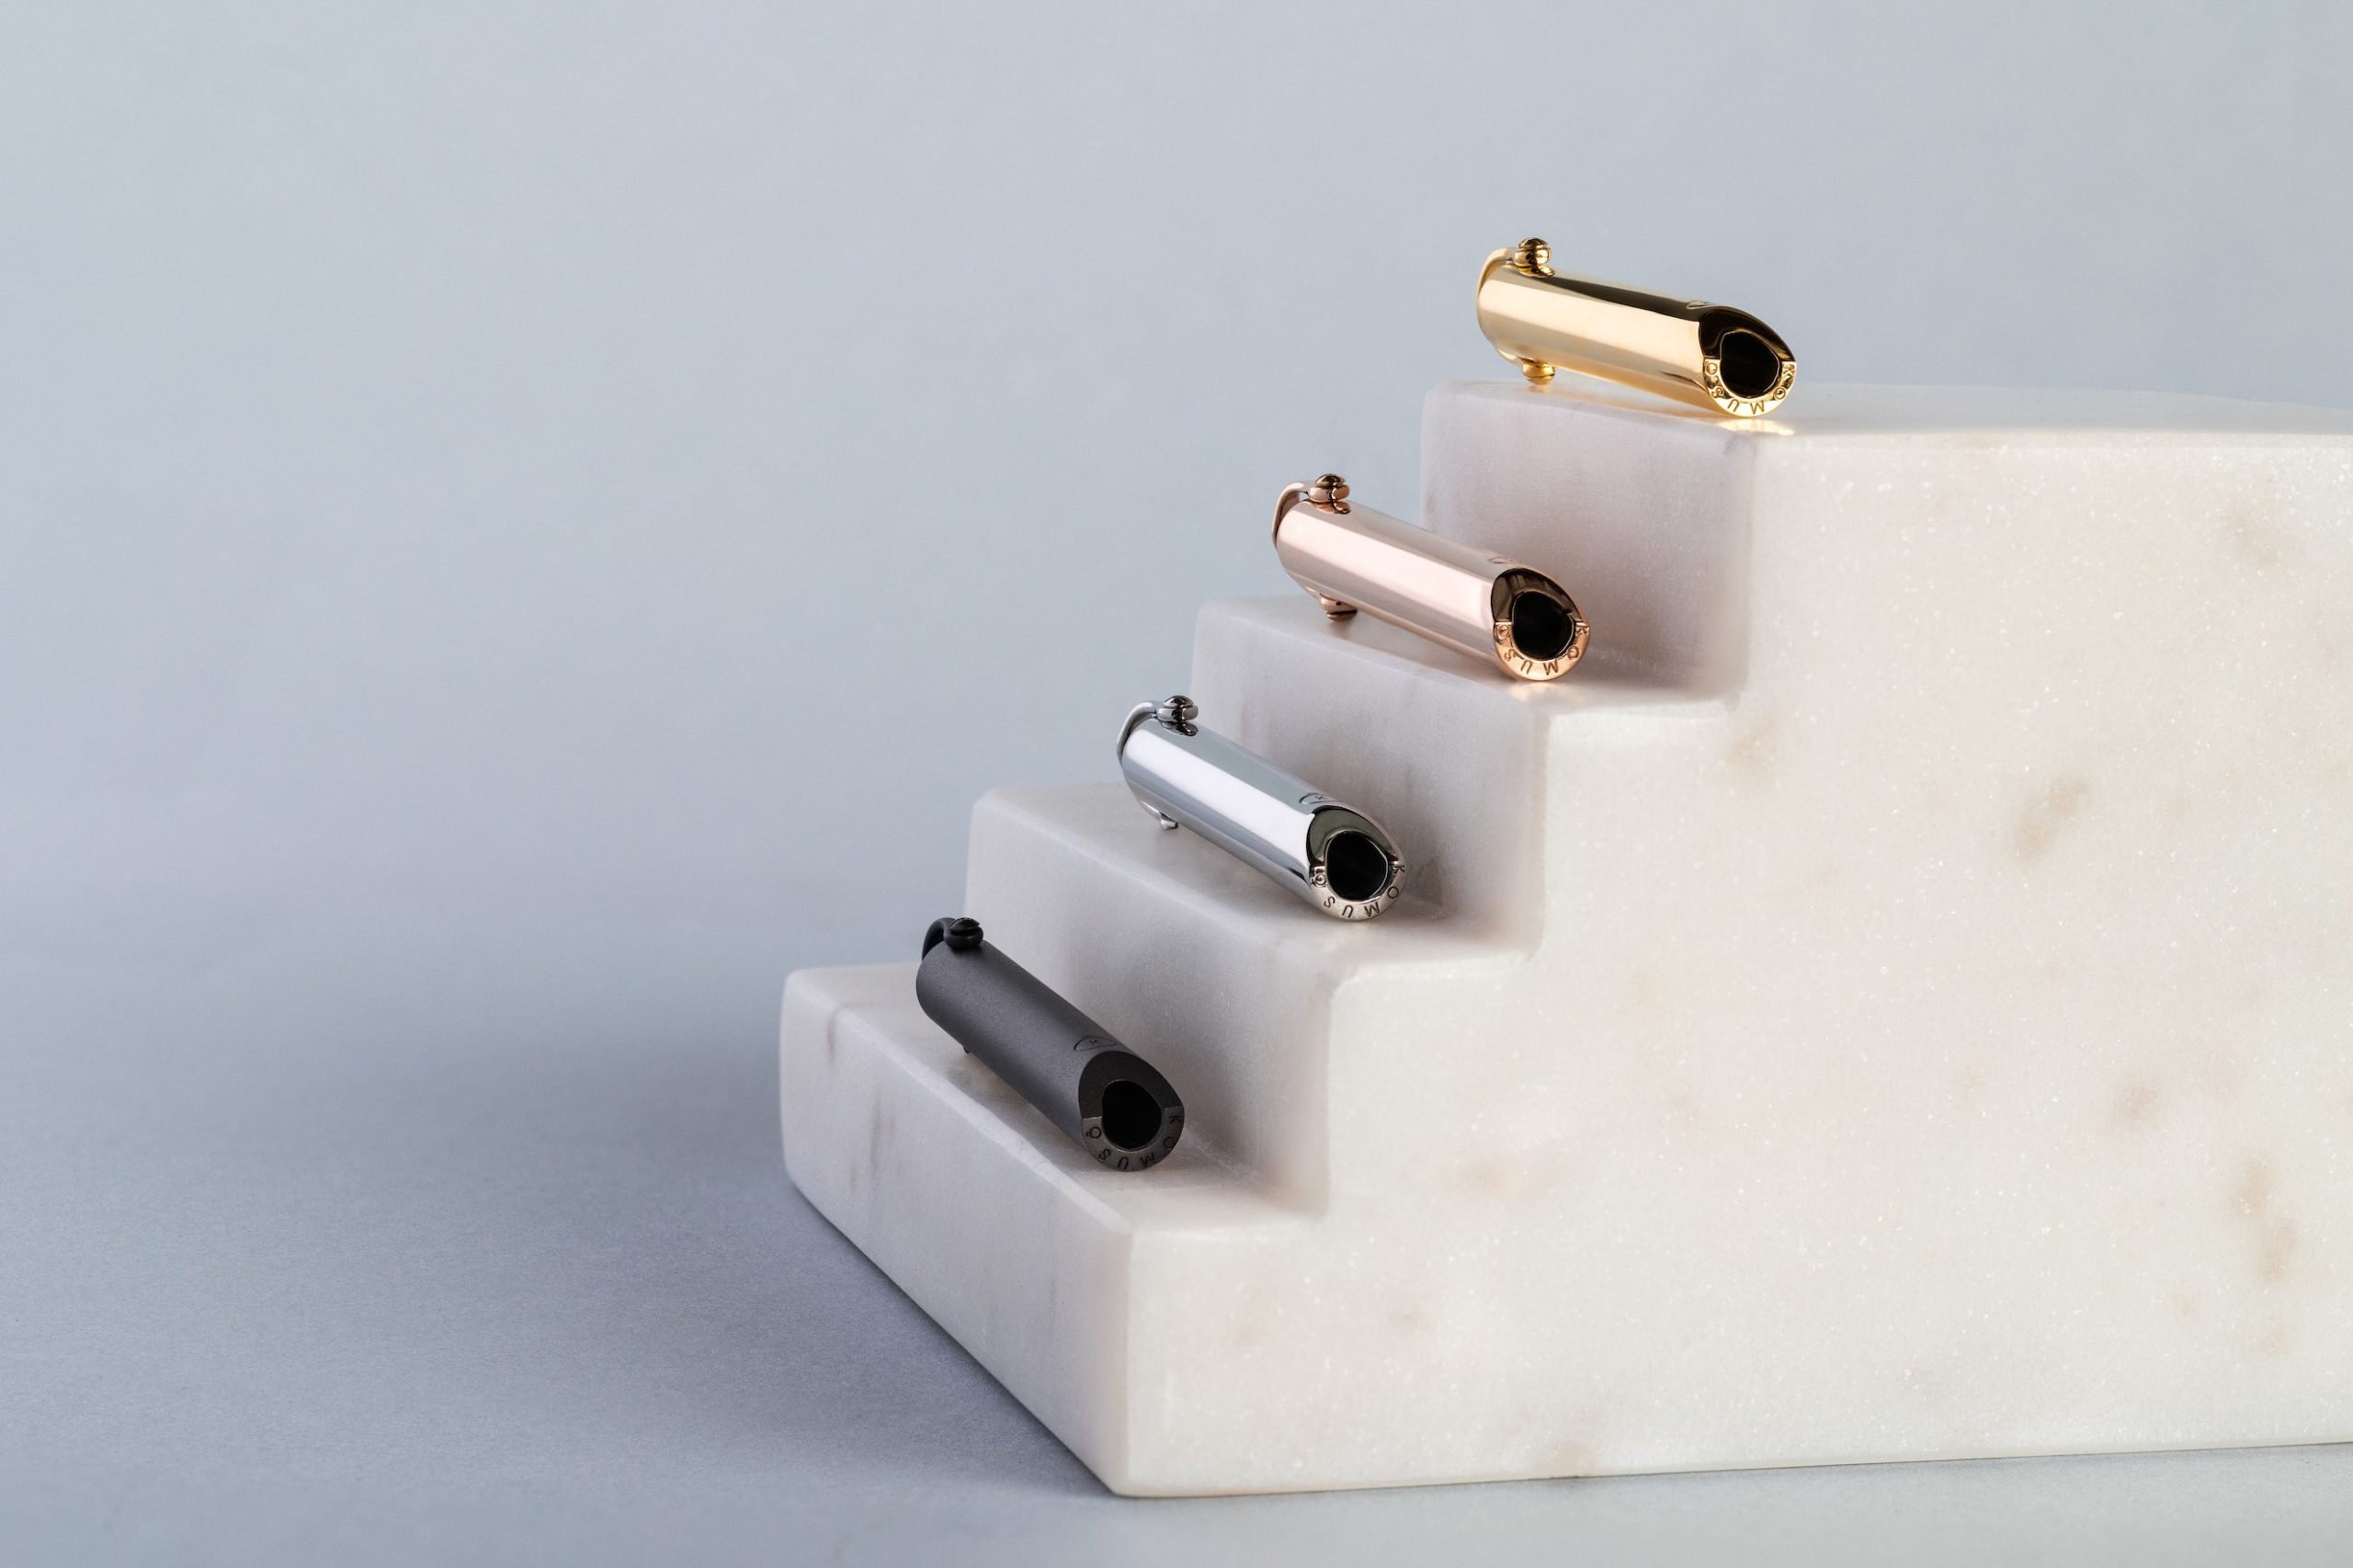
- Group shots – Group shots show groups of products together. Often they are related products or your product in a range of colors.
- Packaging – This is an image showing our product’s packaging. Packaging can support the quality and value of your product and manage your customers’ expectations. In may cases, packaging can be a selling point or a competitive advantage.
The basics of good product photography
There are a few golden rules of the product photography that apply to professional and amateur photographers alike. If you’re hiring an agency and professional photographers, understanding these basics will help you be a more discriminating client and make the best choice for your brand. If you have basic photography skills, these basics will help you stage, shoot, and process your product images.
Pick the right camera for the job
If you’re limited on budget and access to equipment, a good smartphone can do the job. Professional cameras are always preferable, but with some research and forethought, you can make this work with our phone smartphone camera. A pro will no have a range of equipment and lenses and will be able to accomplish shots that will not be possible for you. You won’t have the range of options offered by a DSLR camera, but you still can create compelling and attractive images.
The main settings you will work with are ISO, shutter speed, and aperture. Your ISO is what controls your camera’s light sensitivity, so you’ll use a higher ISO on simmer lighting. Your aperture (or F-stop) controls your image’s depth of field or how much of the image stays in focus. A lower aperture will have a higher F-stop and keep more of the product in focus.
The third setting is shutter speed, which is how quickly the shutter opens and closes. Slower shutter speed can yield a very sharp image but is susceptible to blur from motion.
It’s all about lighting and focus. Use a tripos whether you are using a smartphone or a professional camera. On your smartphone, a setting you’ll use is autofocus, which helps direct the shot to feature your product. You will not use zoom and flash, since they will lower the image quality.
Filters should be avoided in your product photography but may be used later on social media like Instagram, Facebook, or applications where you seek special effects.
Setting up the right background
A good backdrop can highlight your product or add mood and style to the shot.
Your main options for a backdrop are:
- Lightbox – This is designed to produce soft light and background for your product.
- Sweep – This is a curved background that can be created at home with a sheet or poster board.
- Natural light or setting – Your product is highlighted in its natural setting. Lighting is perhaps the most essential element of your shoot. It impacts the visual appearance of your product.
Always consider your product and branding before making this decision
- Get your lighting right.
Natural light is cheaper and easier to come by, but can be challenging with time constraints, the moving sun, and other elements. Artificial light is more consistent and easier to control
- Styling and composition
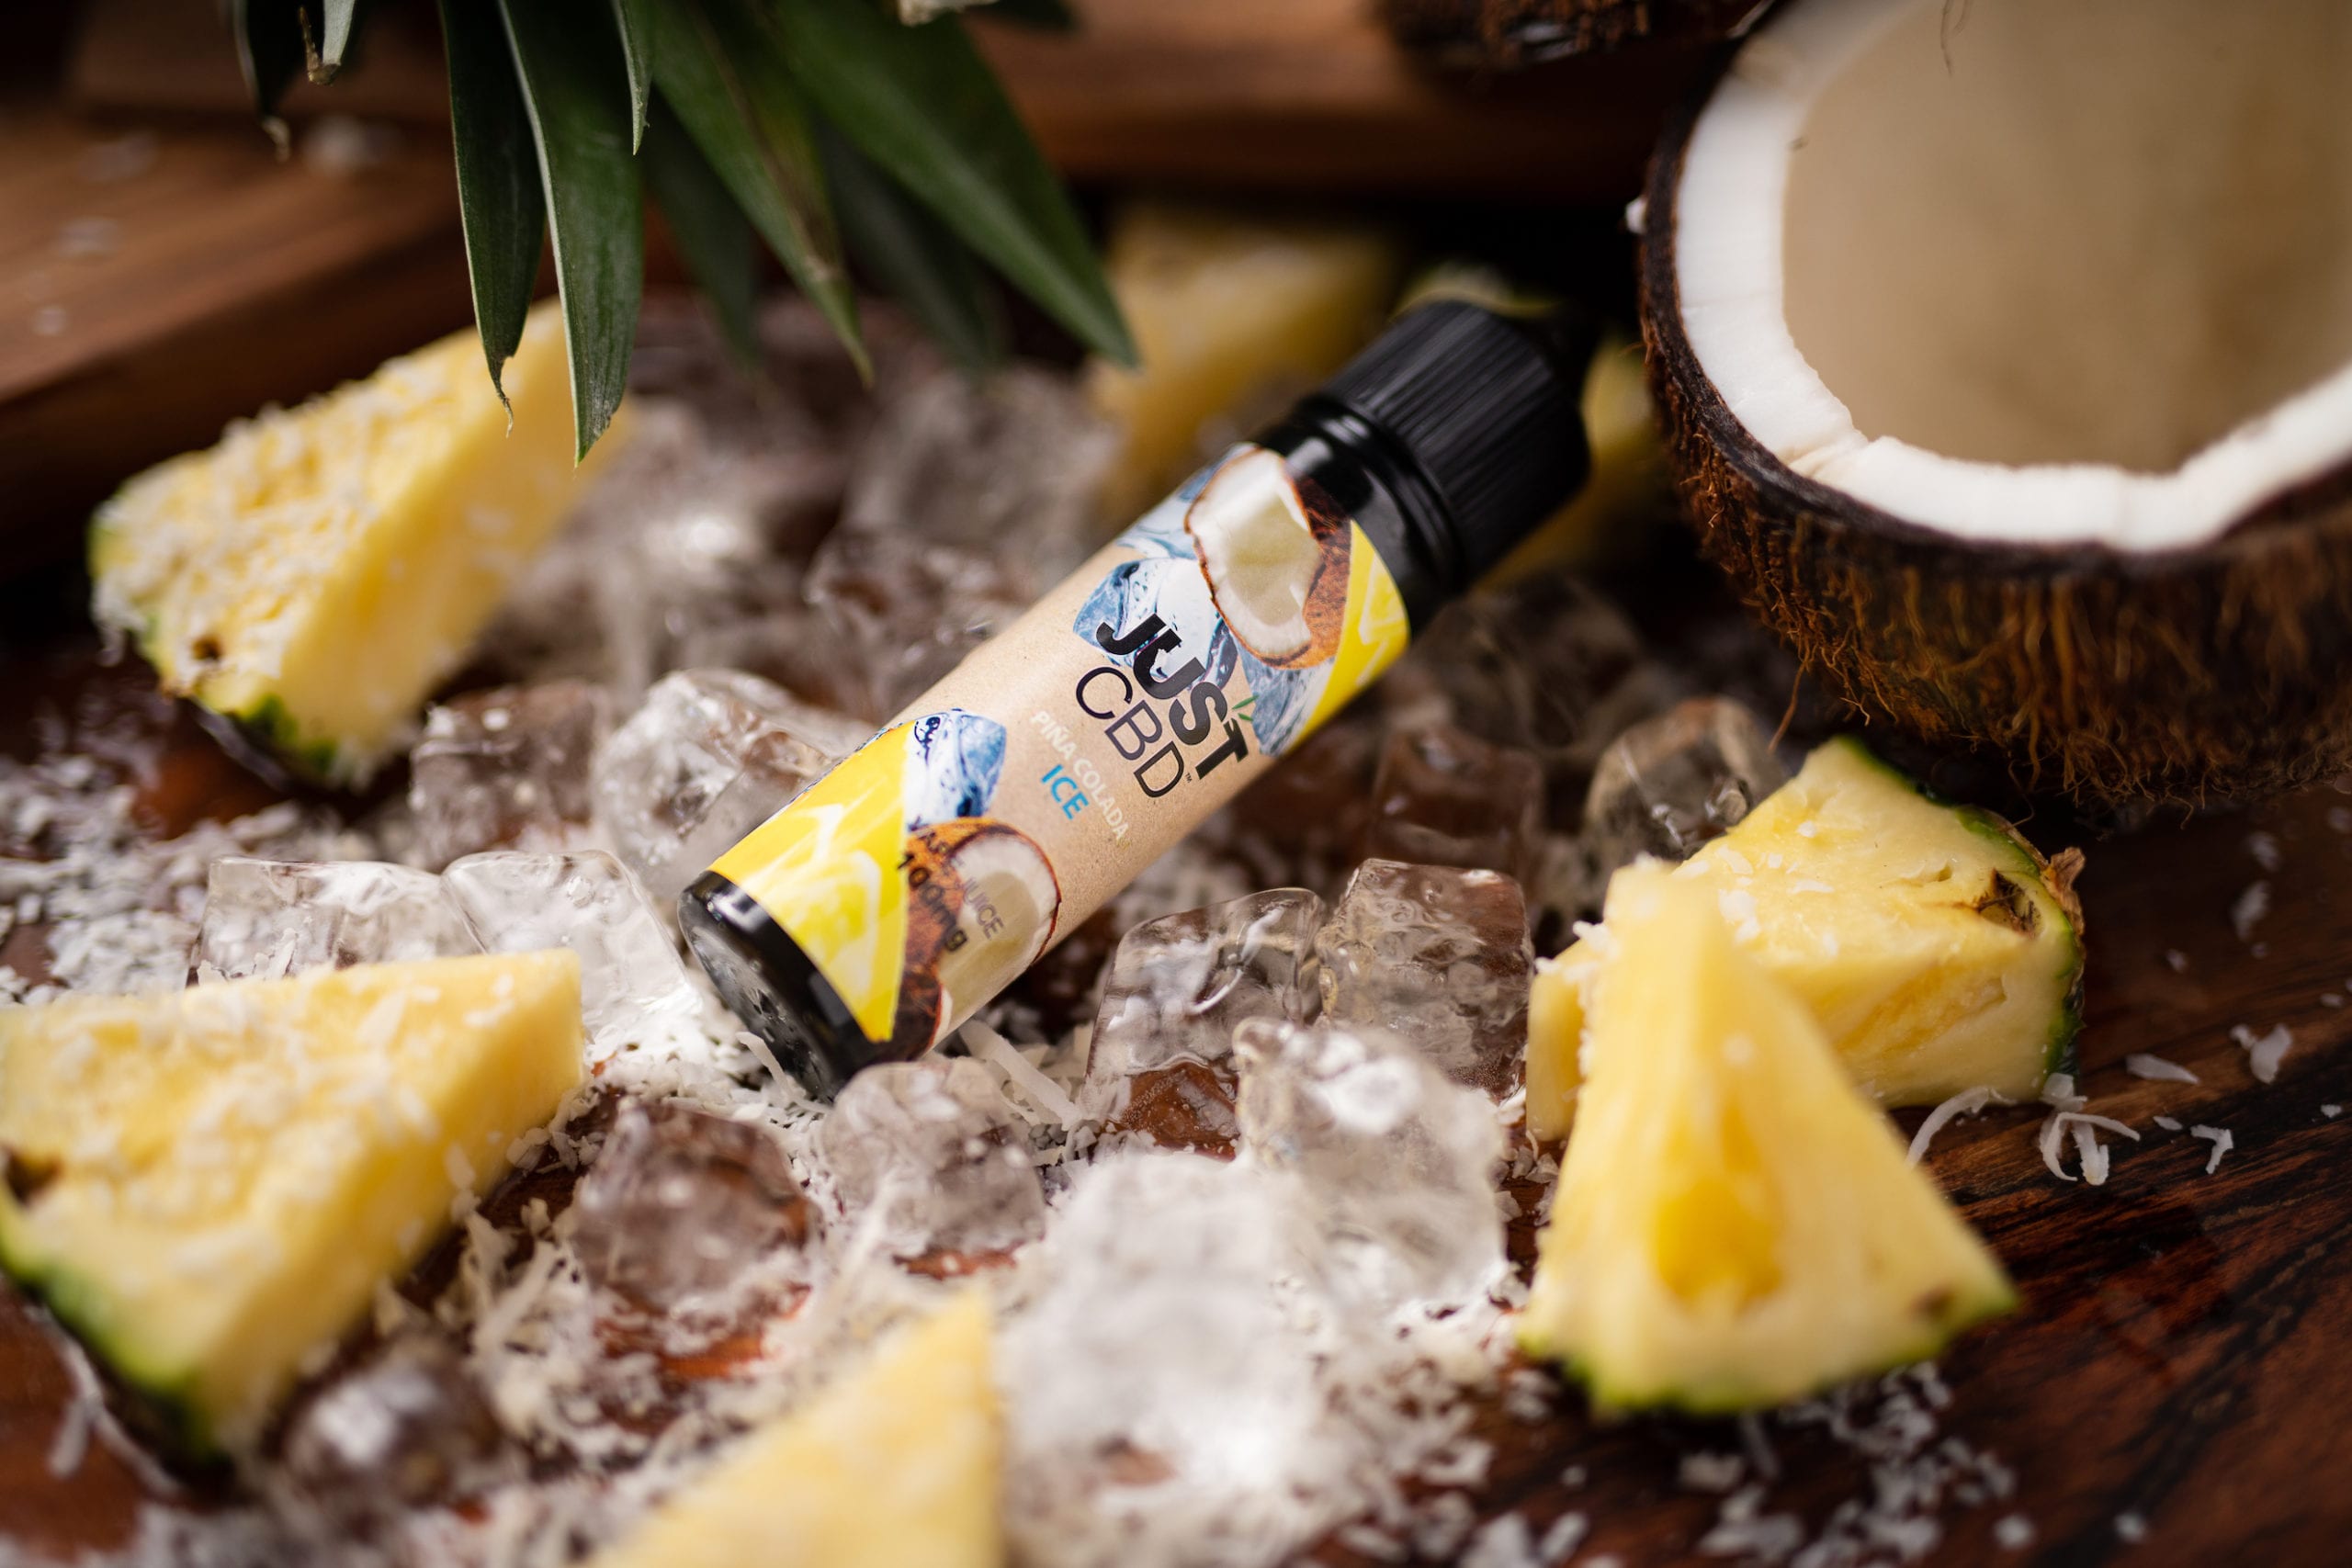
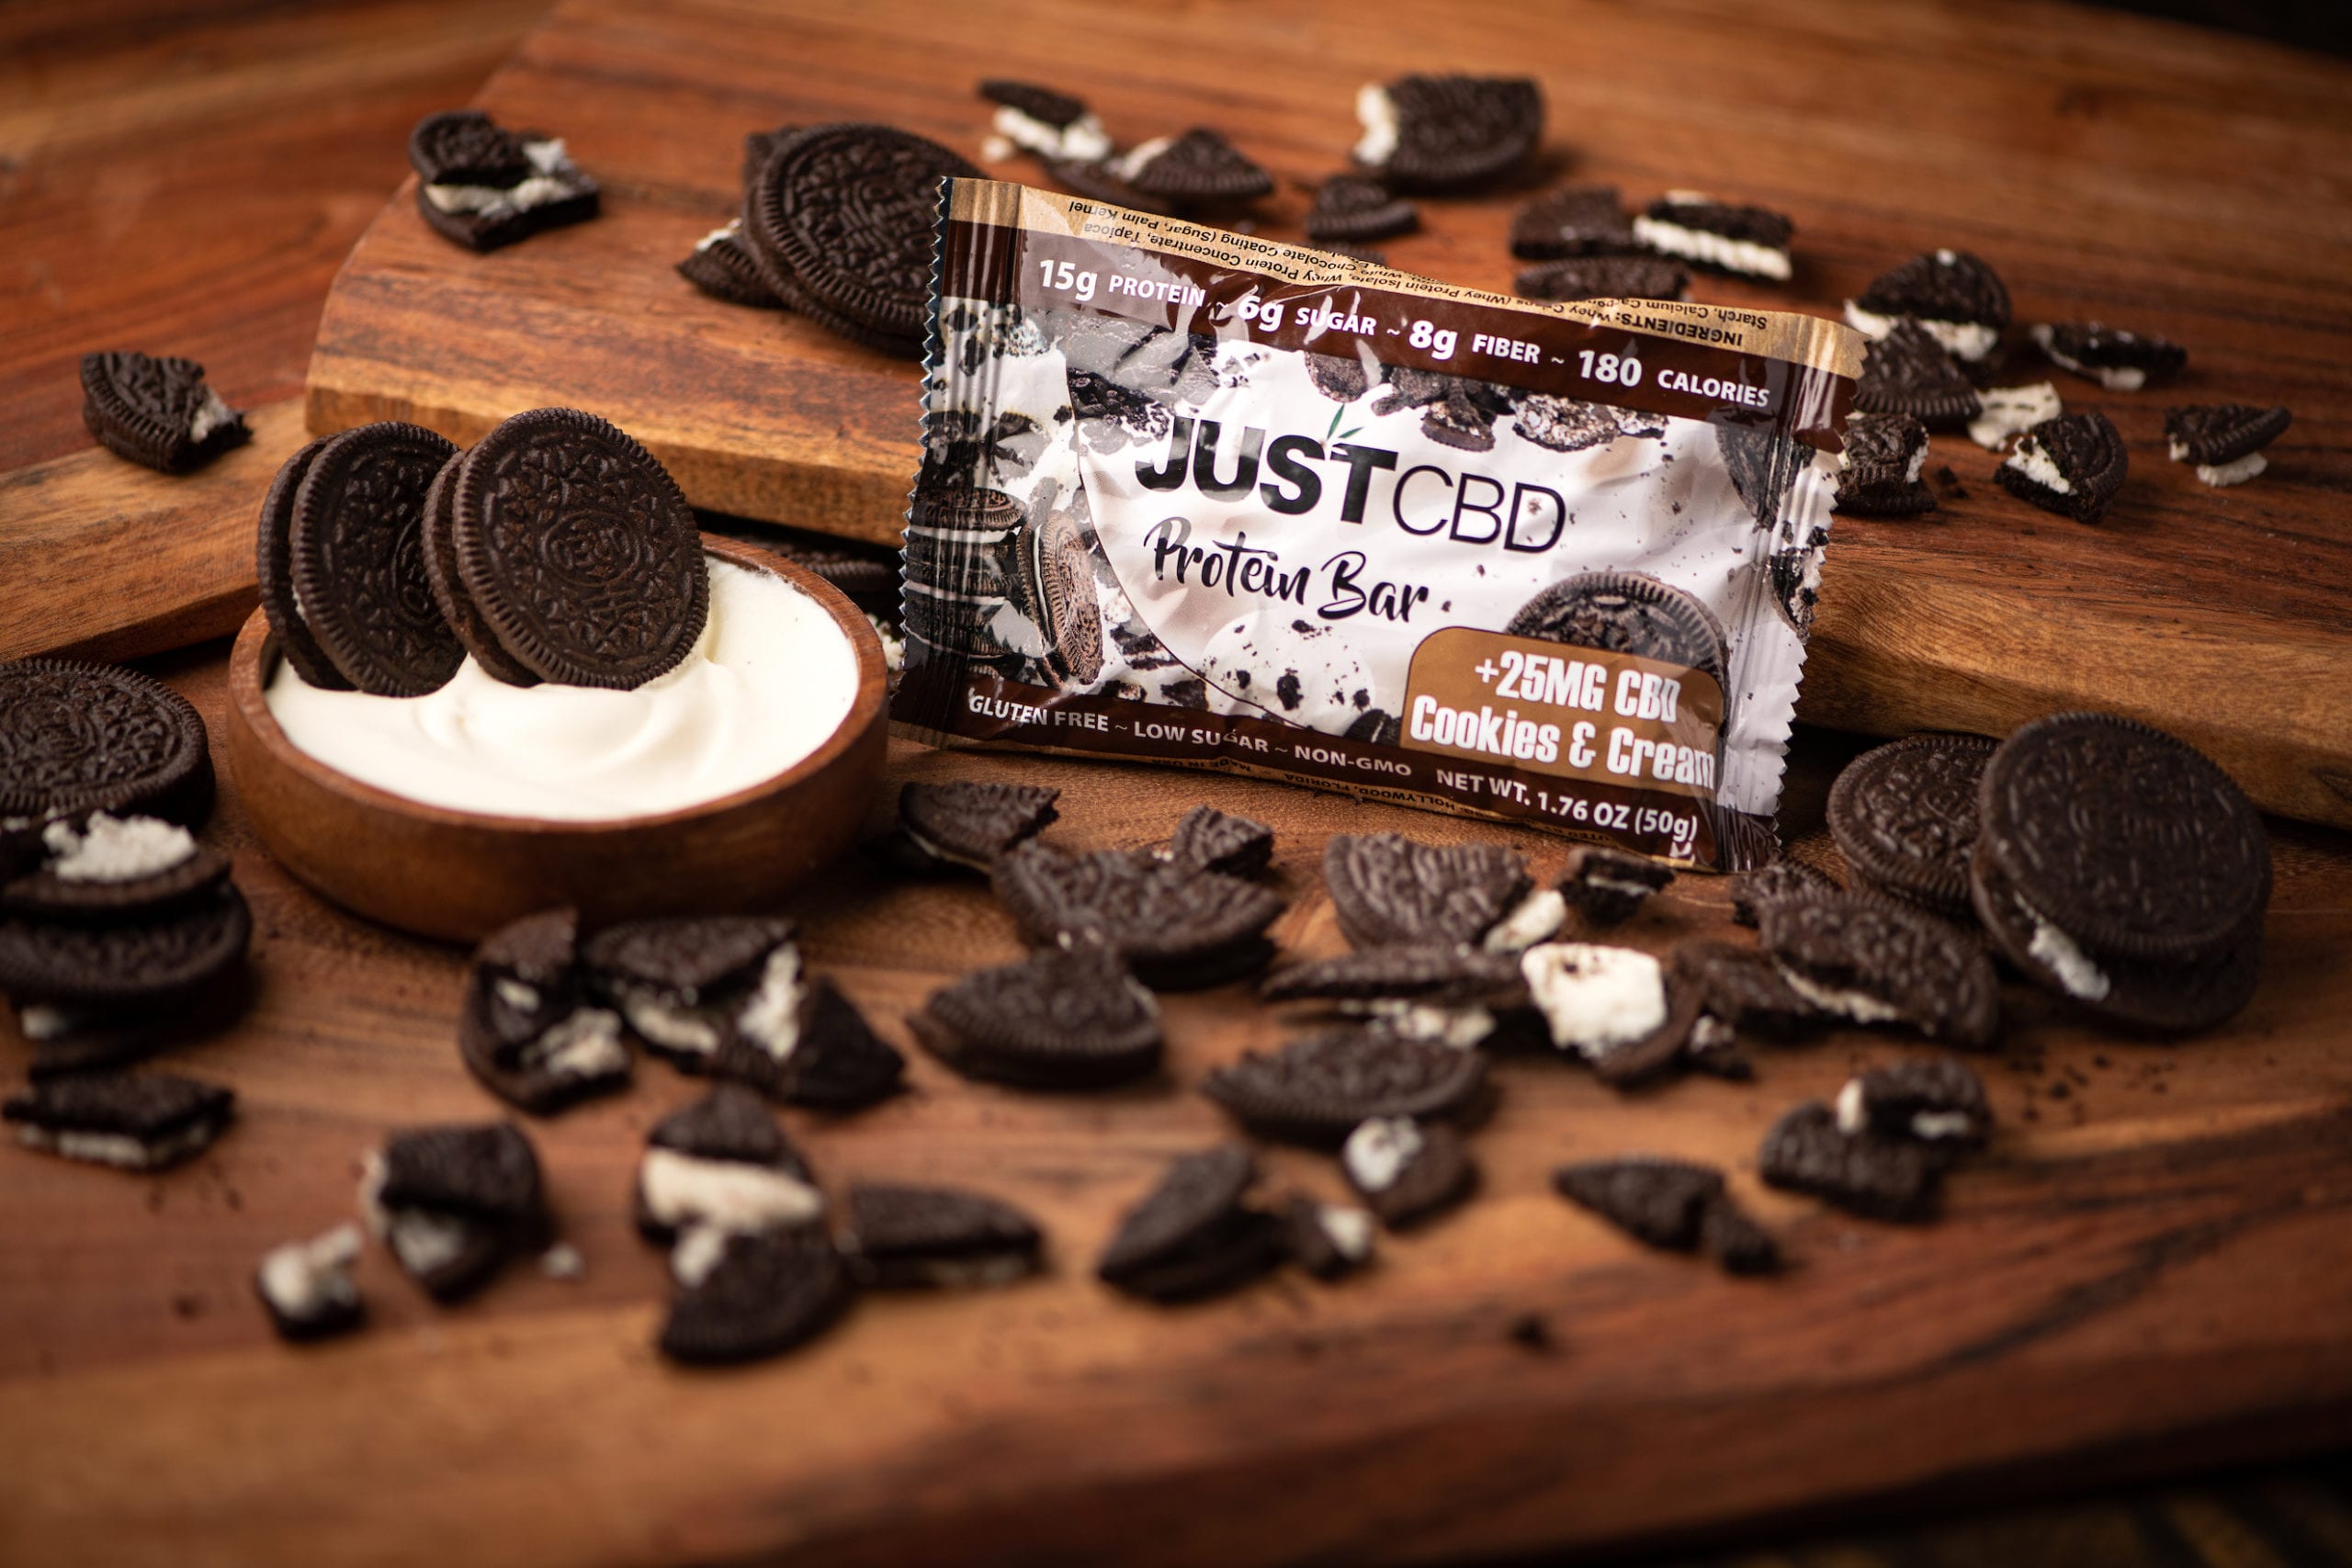
This decision will be based on your product and your brand. For example, food photography is often highly styled and makes use of overhead photography. They are styled with props and colors that will enhance the shoot. A professional photographer will bring this element to your shoot.
- Editing
Editing is a big part of the process. Whether you are working in Canva, Adobe Photoshop, or using other tools to color balance, color correction, white balance, and do additional image editing to make the best of your photoshoot, there is only so much you can correct after the fact.
Top pro hacks to look for in your product shoot.
Many photographers get creative and play around with producing unique images for you.
Here are a few techniques we’ve seen used very effectively.
- Unusual Angles
Think outside of the box. It’s natural to place the camera at the same level as the product, but there are more creative ways to approach this. You don’t want an angle that will distort the image but experiment with shooting from below, offside, or from above.
- Micro Shots
Get up close to feature detail and create an artsy image. These need the context of a traditional product shot but can add to the product’s emotion and branding.
- Interesting Backgrounds
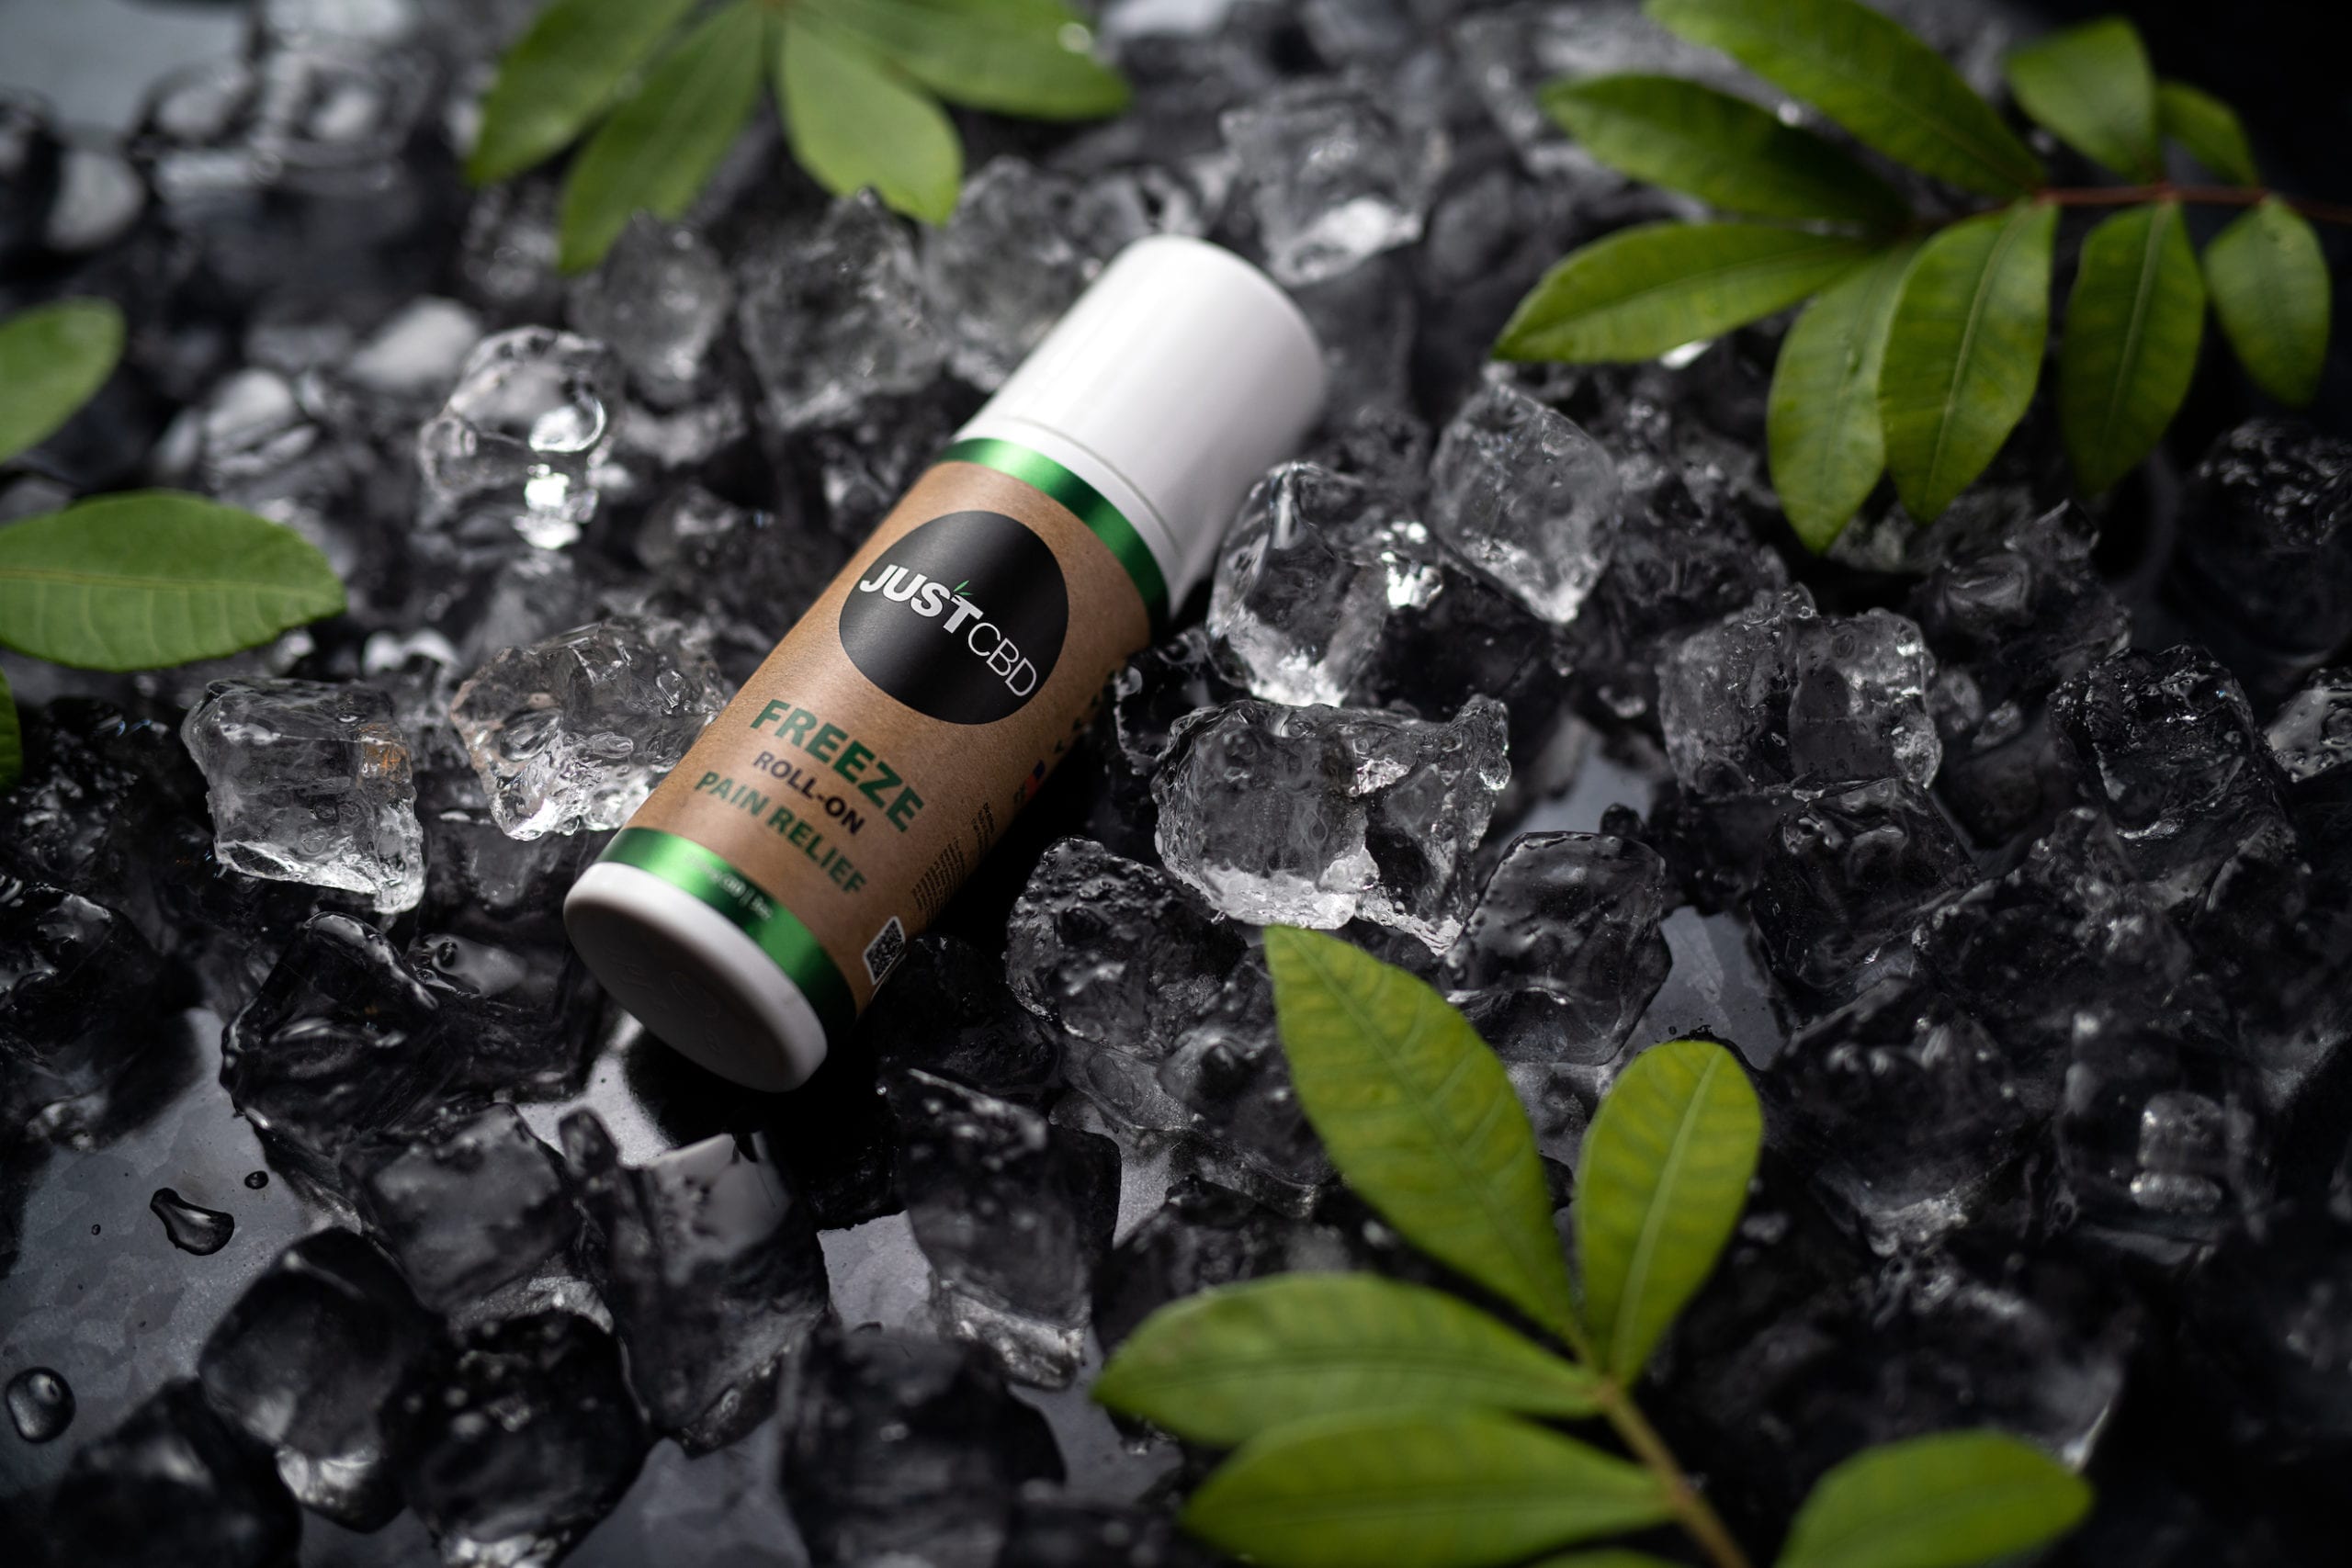
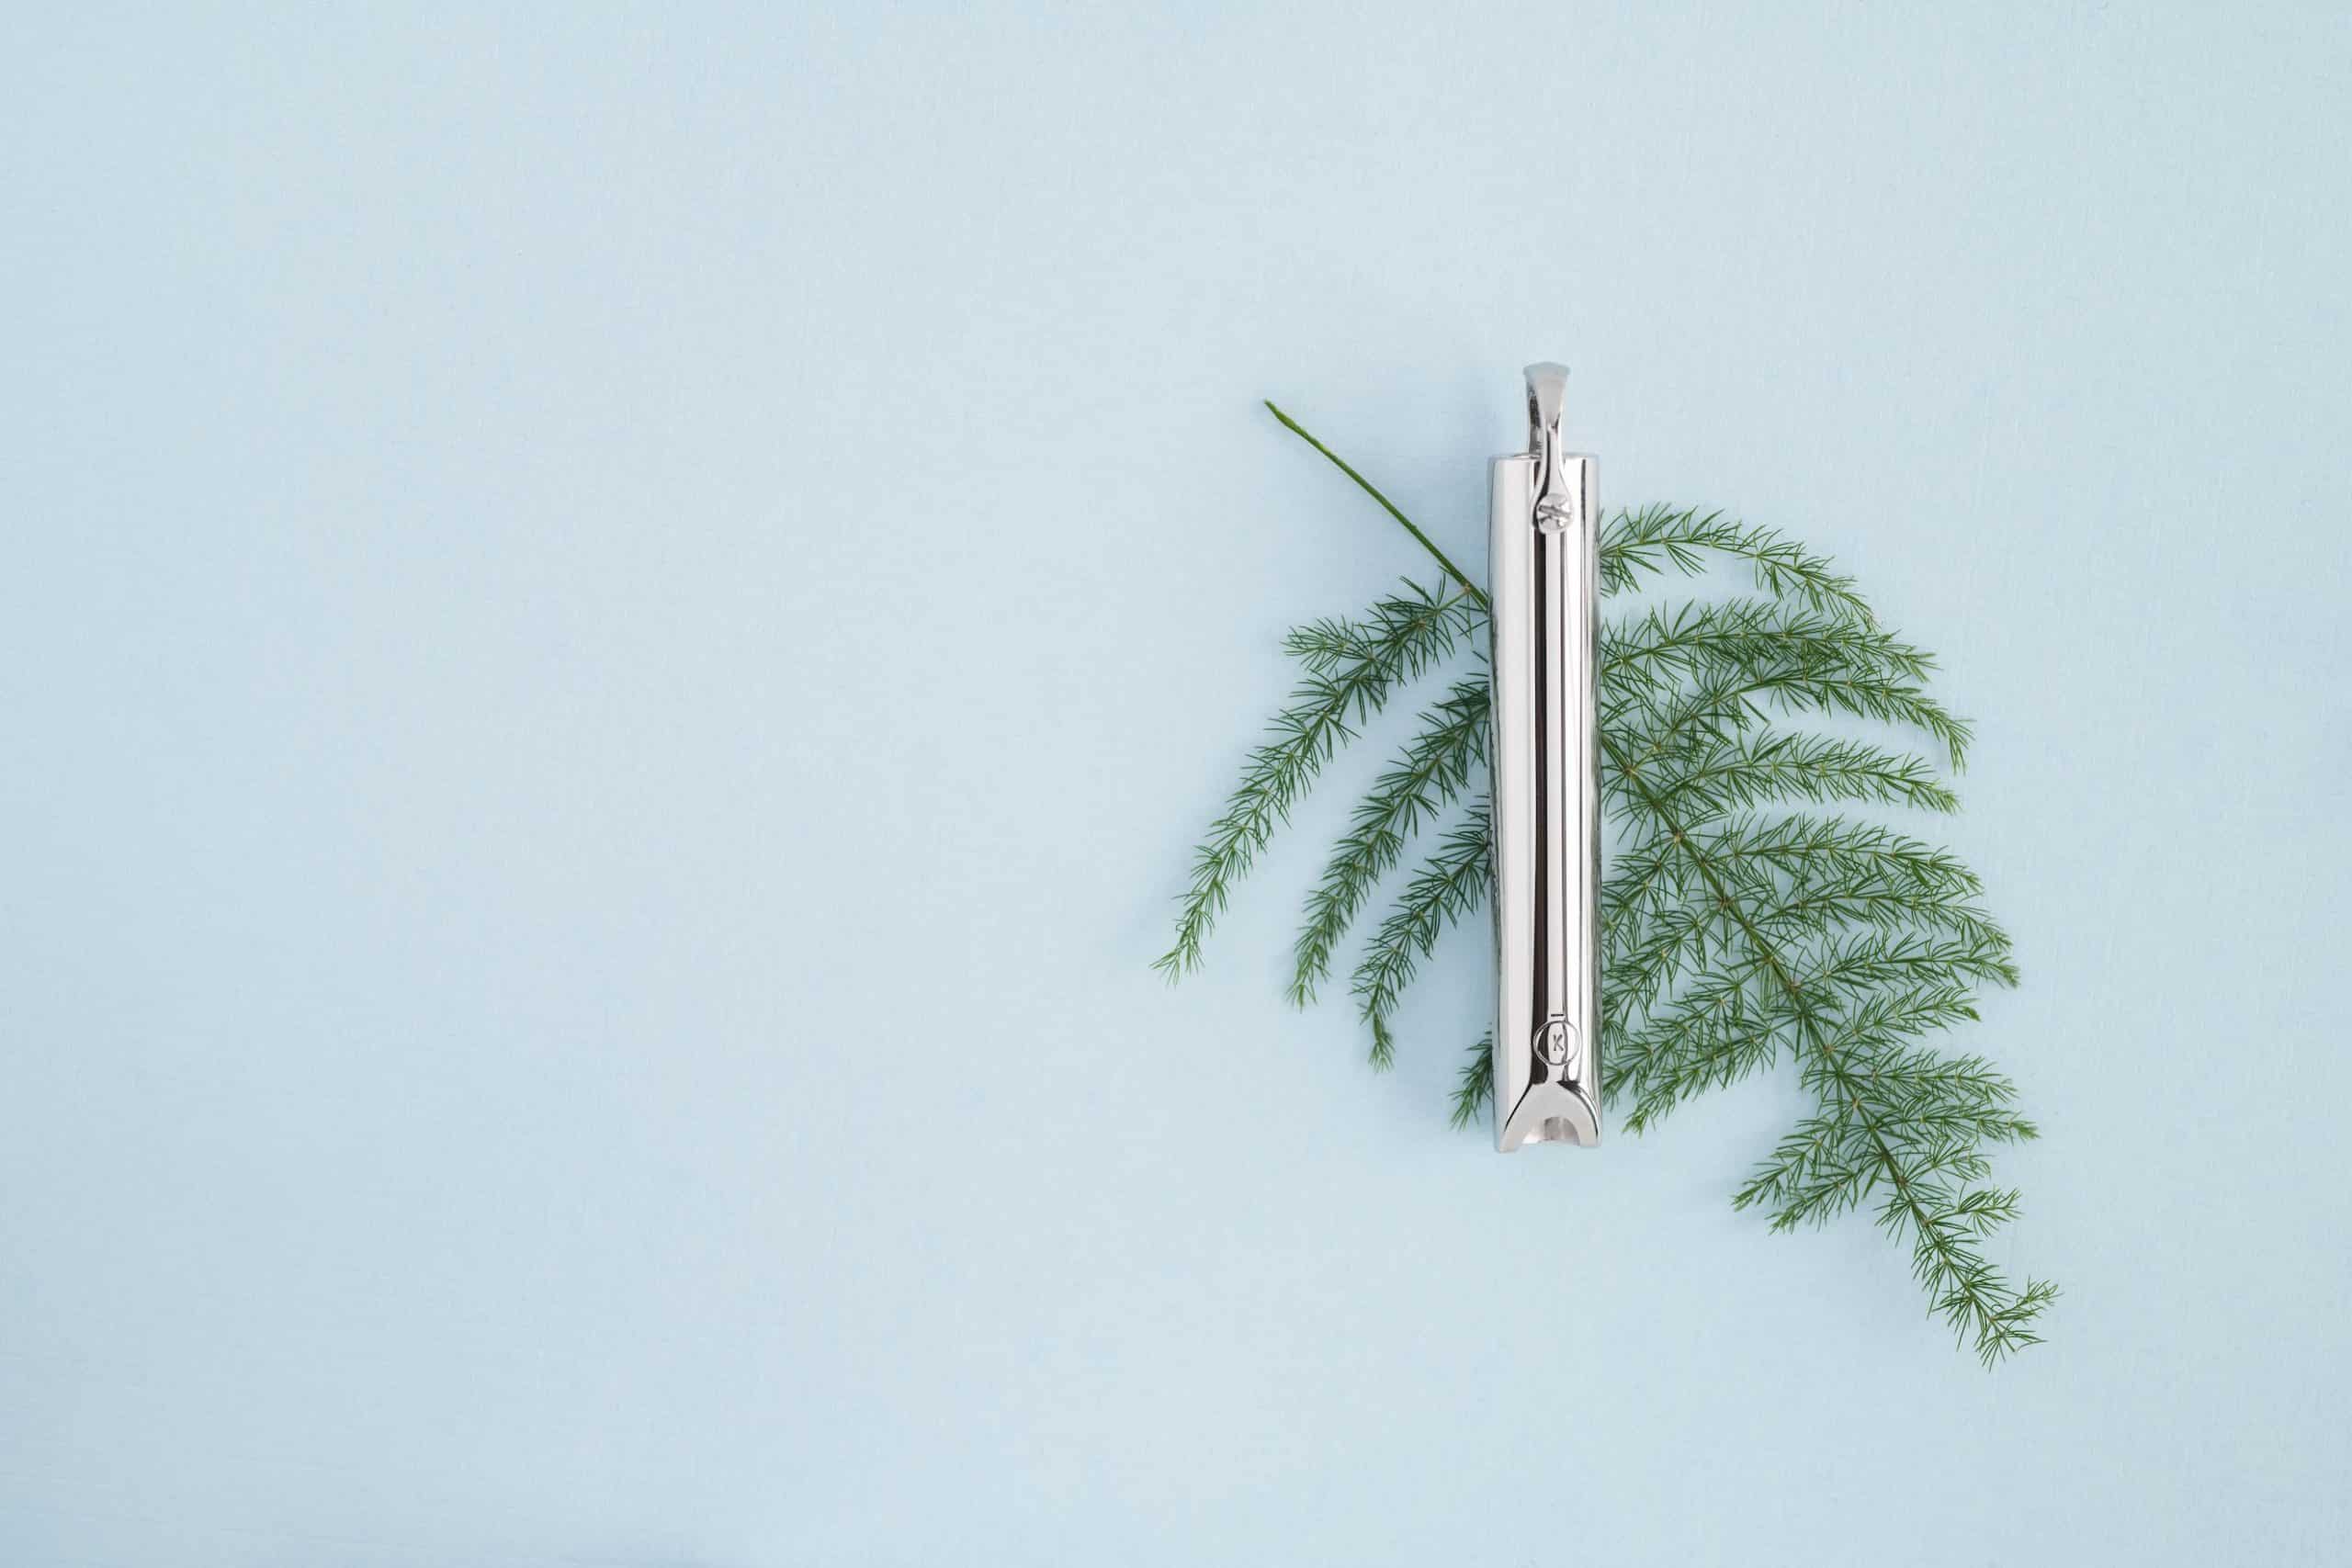
A product rule of thumb is to use a plain background to keep the product front and center. But rules are meant to be broken. Find ways to stage unique background and props to add interest to your shot and separate your product from the pack. Backdrops can also be used to bring a sense of place to your shot.
- Use a reflective surface to set our products on
Putting your product on a reflective surface can crate a stunning reflection that takes the interest of your shot up a notch. Lighting can be used to enhance the reflection further. Good editing will complete the effect.
Do I need to invest in professional product photography?
Yes. If you can afford to hire a pro, you most certainly should. Your product and lifestyle images are some of the most critical elements of your marketing and will speak for you and your brand to clients who are not touching and seeing the product firsthand. They have a heavy load.
Don’t underestimate the value of using good images in your marketing. Clear, crisp, and creative photos will improve your conversion rate and the performance of your marketing. Talk with a full-service agency like C&I Studios to see how they can tell your brand’s story and bring your products to life.
